-
How To Articles
-
- How to Create a New Membership Template
- How to Use Memberships and Trial Memberships
- How to Use Agreements
- How to Create a New Agreement Template
- How to Use the Programs Section (Ranks Overview, Eligible to Promote, Promotions)
- How to Create or Edit Programs
- How to Use the Prospect Profile
- How to Use the Student Profile
-
-
-
- How to Create a Family
- How to Use the Student Profile
- How to Update a Student's Information on the Student Profile
- How to Inactivate or Freeze on the Student Profile
- How to Use the Student List / Member List
- How to Use Student Sign-Up
- How to Create a New Student
- How to Create and Add Awards
- Prospect and Student Statuses
- How to Use Agreements
- How to Use the Programs Section (Ranks Overview, Eligible to Promote, Promotions)
-
-
-
-
-
- How to Use the Kiosk Check-in Screen
- How to Create a Kiosk Check-in Screen Shortcut (Chrome)
- Tip: How Do I Print PINs for Student Attendance Check In?
- Tip: How to Use a Kindle Fire Tablet for the Kiosk Check In Screen
- Best Practice: How to Create an Employee Account for Attendance
- How to Use Mass Check In
- How to Print Barcode Labels for Attendance Check In
-
-
-
-
-
-
How To Videos
-
Getting Started
-
- Kicksite Training Guide
- Step 1: Get Up and Running with Kicksite
- Step 2: Customize Settings to Work for Your School
- Step 3: Basic Kicksite Tasks
- Step 4: Get Finances Set Up
- Step 5: Bring in New Students with Marketing Tools
- Step 6: Keep Students Connected
- How to Create a New Membership Template
- How to Create a New Student
- How to Use the Programs Section (Ranks Overview, Eligible to Promote, Promotions)
-
-
FAQs
-
- Best Practice: How to Create an Employee Account for Attendance
- Best Practice: How to Add Revenue Streams
- Tip: How Do I Print PINs for Student Attendance Check In?
- Tip: How to Delete a Program or Rank with Students Attached
- Tip: Use Programs to Track Employee Time
- Tip: How to Use a Kindle Fire Tablet for the Kiosk Check In Screen
In Kicksite, you can create families. The advantage of creating a family is the students in the family can share contact details (for example, home address or SMS phone number). Families can also share memberships and payments.
To create a family:
First, add each member of the family as new students in Kicksite. After you have each member added, you can then create the family:
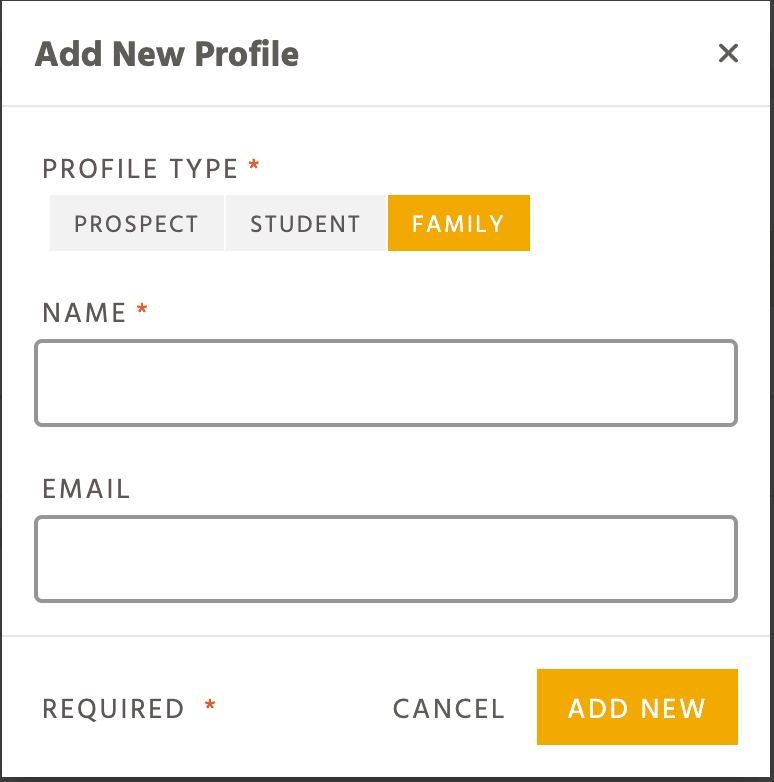
1. In the left panel, click the Add New Profile icon.
2. Under Profile Type, click Family.
3. Enter the family name in the Name field and click the Add New button.
4. To add members and more information to the family, click the View Family button in the green note. (It appears at the bottom of the screen.) Alternatively, on the left panel, click Profiles and then click Families. Click the name of the desired family.

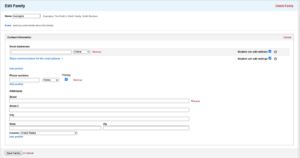
5. Click the Edit Family link.
6. To add contact details for the family, click the Add Contact Information link. Enter the information in the appropriate fields.
7. Make sure to scroll to the bottom and click the Save Family button.
To add members to the family:
1. If you just created the family (as detailed in the previous steps), click the Add Member link on the right side of the screen. (If you’re adding a new family member to an existing family, on the left panel, click Profiles and then click Families. Click the name of the desired family, and then click the Add Member link.)

2. From the Add a Member to This Family drop-down list, select the student that you want to add to the family.
3. You can then choose if you want to copy any or all of the following contact information from the student to the family account (to copy the item, leave the check box selected; deselect the check box if you do not want to copy that information):
- Emails
- Phone numbers
- Addresses
- Parent/guardian information
- Emergency contact information
4. After the options have been selected, click the Add Member button.

Repeat these steps for any additional family members to be added:
- When a new family member is added, you have the option to share contact info that was previously entered for that family, or you can share contact info from a member of the family to this new family addition.
- If the check box is selected next to the copy options, then it will be copied over to the new family member’s profile page.
- Any additional addresses will be added underneath the existing ones, along with the family contact info (shown below).
