Tip: How Do I Print PINs for Student Attendance Check In?
If you’re new to Kicksite, or if you’ve recently had a lot of new students join, you may be wondering how to let students know what their PIN (ID number) is so they can check in for attendance using the Student Check-In screen.
If you have sent the students invitations to create a user account, the student can log into their Member Portal and find their PIN on the top-right menu. Or you can, of course, search the student by finding them in the Student List or typing their name in the Search field, going to the Student Profile, and then tell the student their PIN.
But a more efficient way is to print a list of student names and PINs so that students can look up their own PINs.
To print a list of student PINs and names:
1. In Kicksite, click Profiles in the left panel, and then click Students.
2. Click Active if it isn’t already highlighted. (Inactive and Frozen students can’t check in for attendance.)
3. Click the three vertical dots (just under the Inactive tab) and select Export from the menu. A .csv file will download.
4. Open the file in a spreadsheet editor such as Excel. (If you have another spreadsheet editor, the steps below will be similar.)
5. Recommended: Click a cell in the First Name column, click the Data tab, and then click the Sort A to Z button. Click a cell in the Last Name column, and then click the Sort A to Z button. This sorts the students’ names into alphabetical order, which will make it easier for students to find their name and PIN in the list.
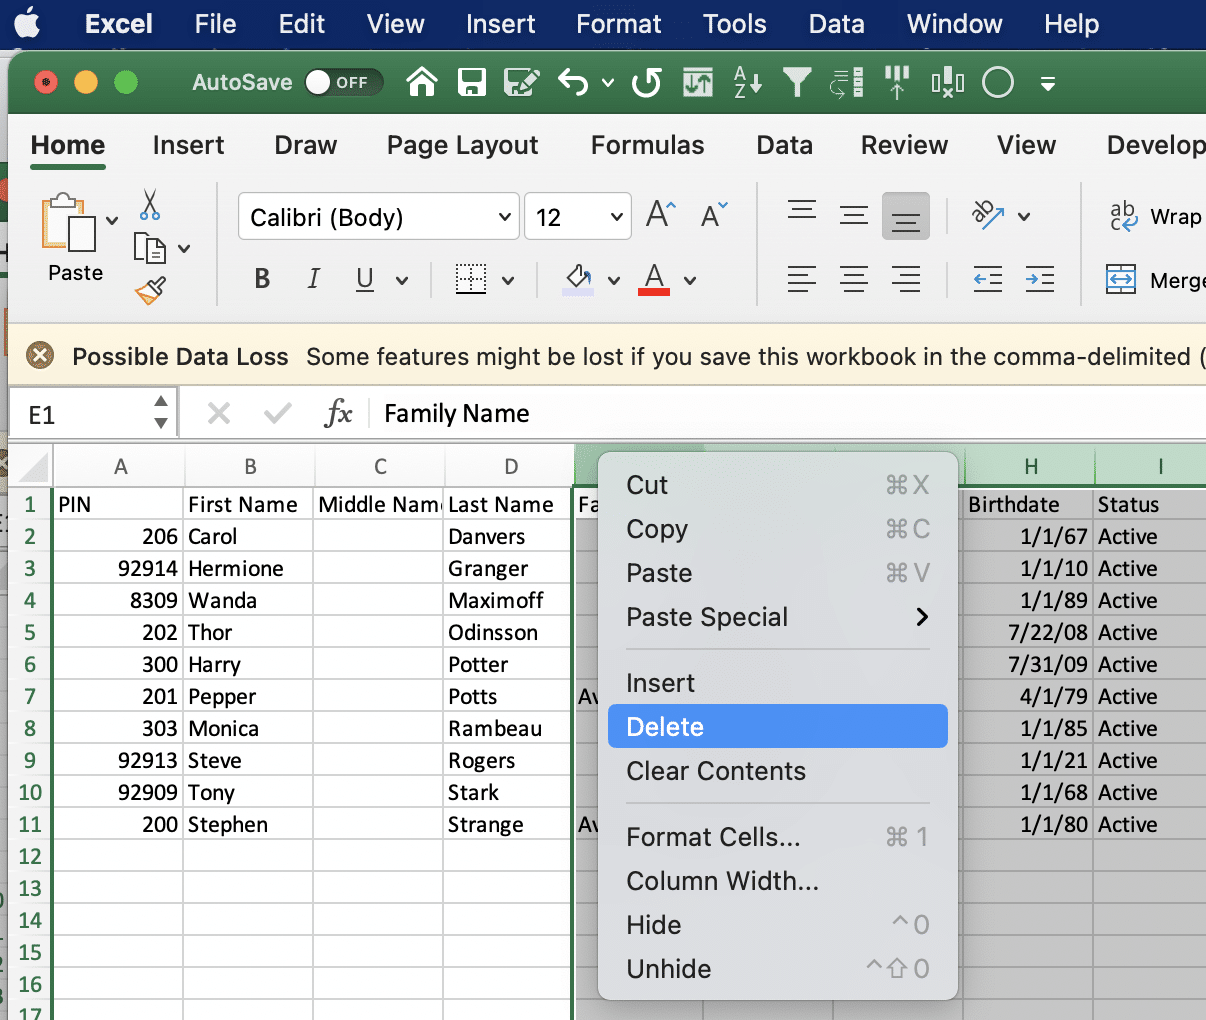
6. Highlight all columns to the right of Last Name (columns E through AA). Delete those columns. (Right-click and choose Delete.) This ensures that only the name and PIN appear in your list, and no personal information will show.
7. If needed, click the line between column headers A and B and drag right or left to adjust the column width. Adjust each of the columns’ widths as needed. (You can also double-click the line between the column headers to automatically adjust the column width to show all data in that column.)
8. Click the File menu and then Print. In the Print dialog box, you can make adjustments if needed and preview what the list will look like when printed. Click the Print button to print out the list.
Post the printed list near the tablet or laptop you use for student check ins.
Note: If a student tries their PIN but can’t log in, the first digit may be a 0 (zero) — ask the student to try again, but add a zero as the first number. For example, if the PIN shows 359 on the spreadsheet printout, ask the student to try typing in 0359.
Excel “drops” the leading zero from numbers, so it won’t appear in the spreadsheet. When you create a new student, you can change the PIN if needed. (Just remember that the PIN must be unique for each student.)
Tip: If your students use an access card to enter the studio, you can write the PIN on their access card. Another way to help student remember their PIN is to write it on the inside cuff or collar of the student’s uniform. (Use a Sharpie so the ink won’t smear or wash out!)