How to Create a Message Flow
Message flows are a functional, stepped communication program that allows a studio to structure multiple communications for prospects or students. For example, you could set up a message flow so that when a prospect enters their information on your website, they get a welcome message via email, and then a few days later, they receive a message introducing the school’s instructors, and a few days after that, a message about trial memberships or special offers. Message flows can also be triggered to send birthday messages or congratulate students when they hit attendance milestones.
Message flows are a great ways to help motivate and engage prospects and retain students, growing your business along the way.
To create a Message Flow Template:
1. Click on Communications in the left panel.
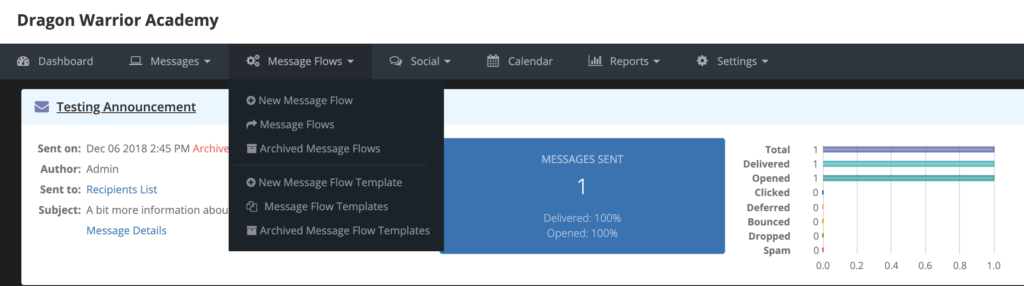
2. Hover over the Message Flows menu, and then select New Message Flow Template.
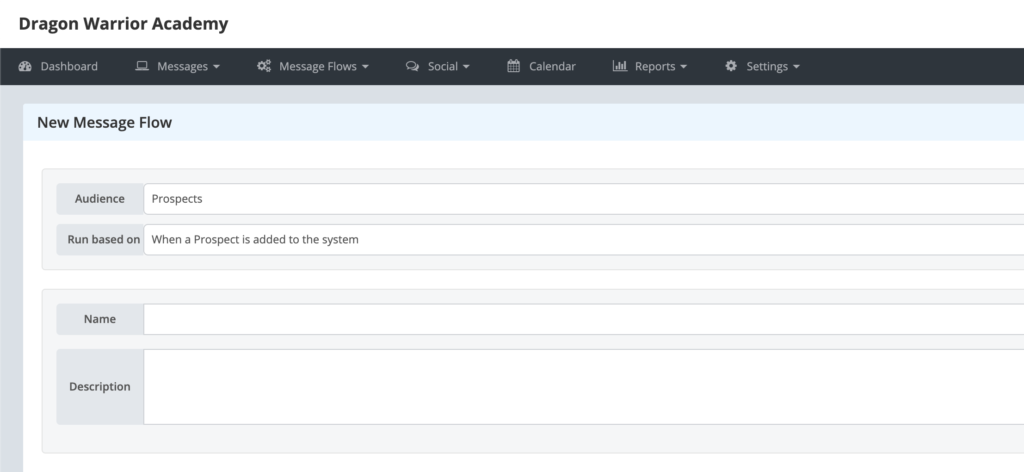
3. Select your audience by clicking the Students or Prospects button. (Note that you can change the Audience if needed by selecting a different option in the Audience drop-down list.)
4. In the Run Based On drop-down list, select the desired trigger.
5. In the Name field, type a name for the message flow.
6. In the Description field, give the message flow a brief description.
7. If you want to re-use this message flow, toggle on the Save as Template option.
8. If you selected Students in Step 3, select the audience for the message flow by checking the appropriate status check boxes.
9. Click the Save Message Flow button.
What’s next?
After you create your Message Flow Template, you need to add steps with the message(s) you wish to send to prospects or students. You then activate the message flow so that it will start sending messages when the trigger event occurs.