How to Create a Kiosk Check-in Screen Shortcut (Chrome)
Many schools use a tablet for their Kiosk Check-In Screen. This allows students to check-in for attendance and encourages children to be responsible.
The major concern of school owners is a student getting into the backend of the system. Creating a shortcut to the Kiosk Check-in Screen can remove this worry.
Click the following link to watch the video about creating a shortcut to the Kiosk Check-In Screen.
First Steps
Before you can take attendance, you need to create programs and add ranks and belt graphics. You also need to add new students (make sure you attach at least one program to the new student). Kicksite recommends creating an employee account specifically for attendance; this is to ensure that if a student accidentally backs out of the Kiosk Check-In screen, they will not be able to view or change any information within your Kicksite account.
To create the Kiosk Check-In Screen shortcut:
1. On the left panel, click Attendance, and then Check In Screen.
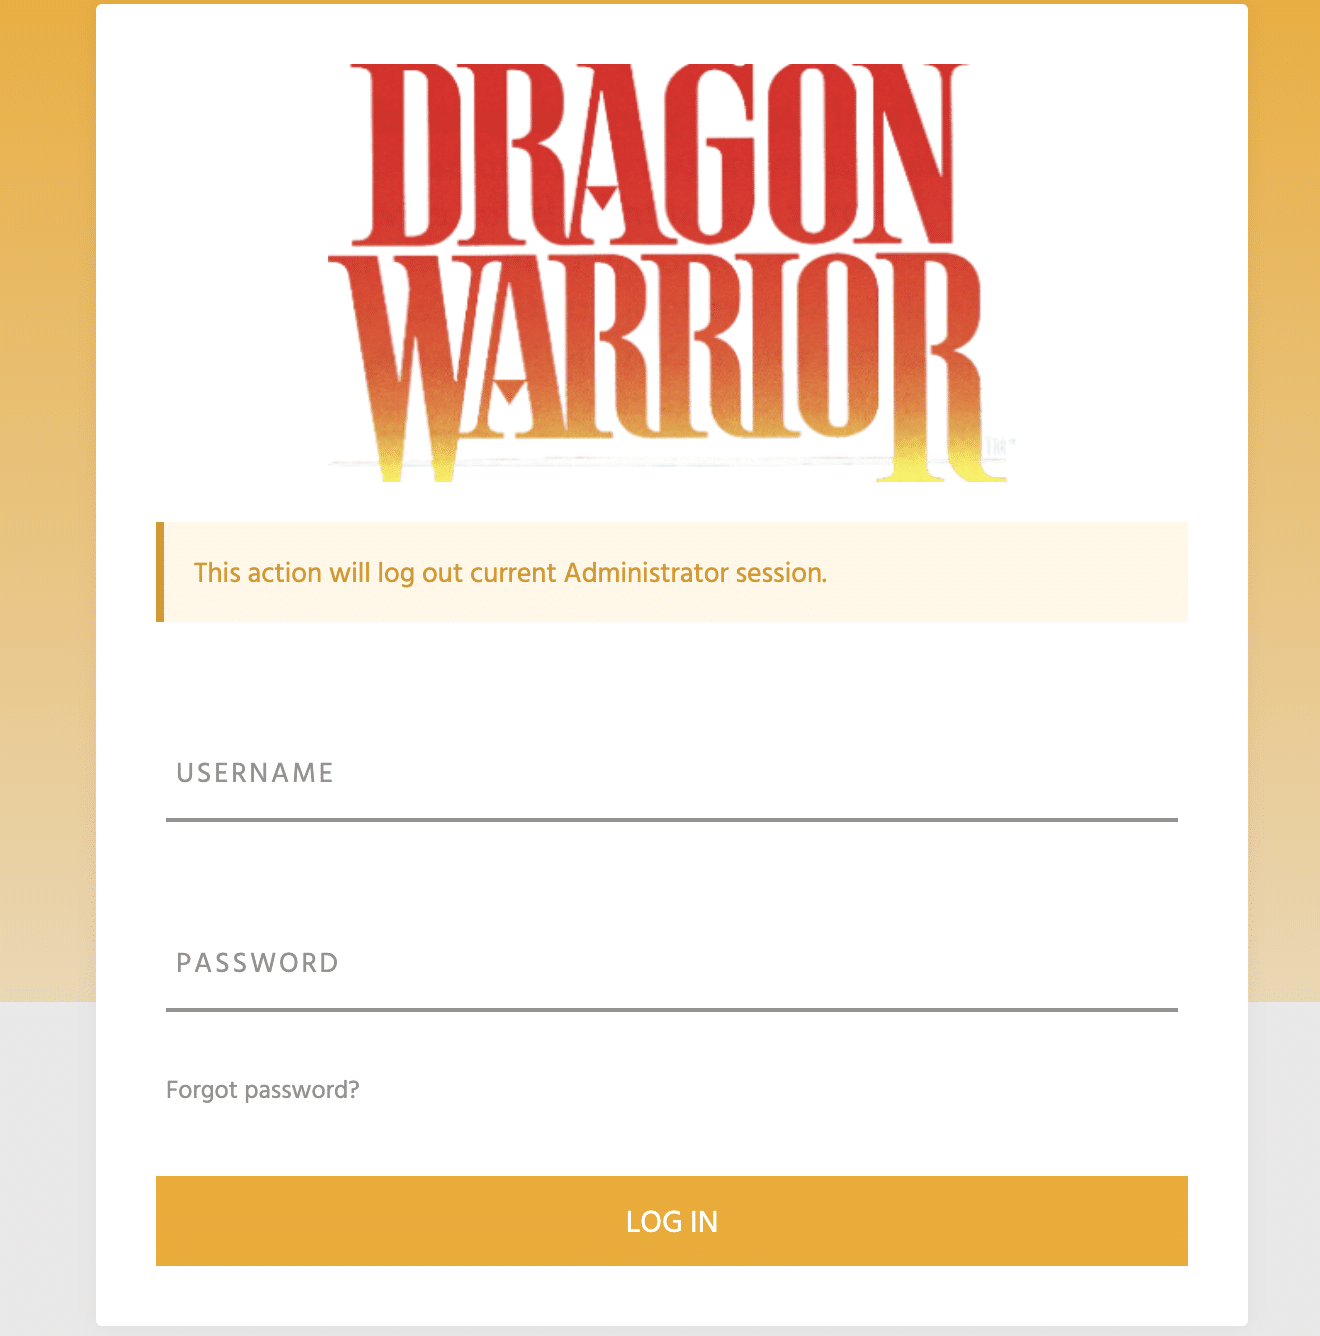
2. Log in with the employee created for tracking attendance using the Kiosk Check-in Screen.
3. Click the menu button, which is the three vertical dots at the top right of the page, next to the URL bar.
4a. Chrome – PC: In the menu, hover over More Tools and then click Add to Desktop.
4b. Chrome – Mac: In the menu, hover over More Tools and then click Create Shortcut.

5a. PC: In the Add to Desktop pop-up window, name your shortcut, and then click Add.
5b. Mac: In the Create Shortcut pop-up window, name your shortcut, and then click Create.

You can use this shortcut to open the Kiosk Check-in Screen without giving the students the ability to leave this page.
What’s Next?
If you have a class or students that you want to check in manually (rather than having them use the Kiosk Check-In screen), you can use the Mass Check-In screen. Consider setting up Attendance Details and enabling Attendance Awards.
If you need to review past attendances, pull the Attendance Log.