How to Create a General Announcement Template
Creating Announcement Templates allows you to use the same message for a General Announcement over and over again.
First Steps
Make sure you have email addresses entered on the students’ profiles. If you want to text students, make sure that SMS text is enabled on the student profile.
To create a template for your General Announcement:
1. On the left panel, click Communications.
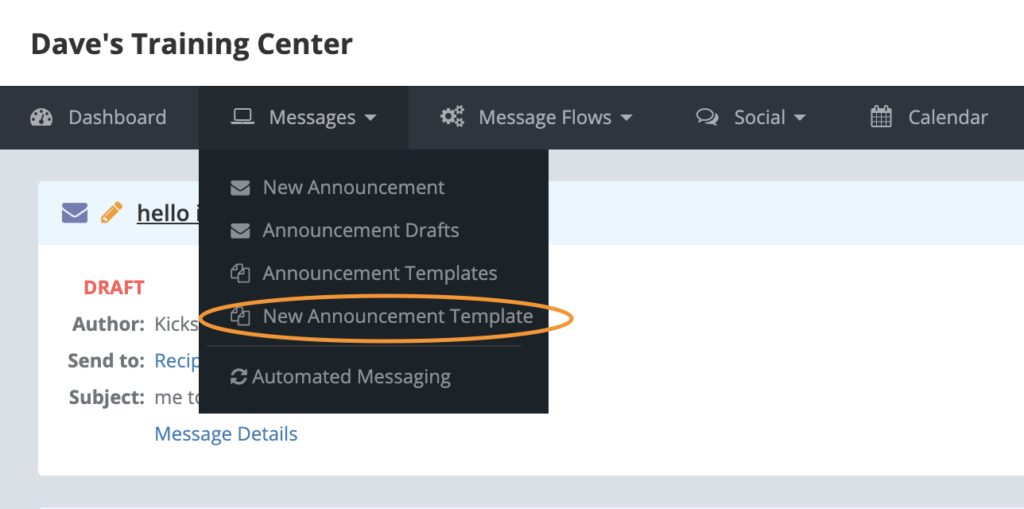
2. Hover over the Messages menu and click New Announcement Template. (The Template Information is for internal use only, so your students will not see anything you type in this section.)

3. Begin by typing a name for the new template in the Name field. This will allow you to easily locate the template after it has been created.
4. Type a description for the template in the Description field. This will allow you a brief overview of the purpose of this template.
5. If desired, add this template to an announcement category by typing a name in the Category field. This will help keep all of your templates organized.
Note: To add or manage your announcement categories list, click the Settings menu and then click Announcement Categories.

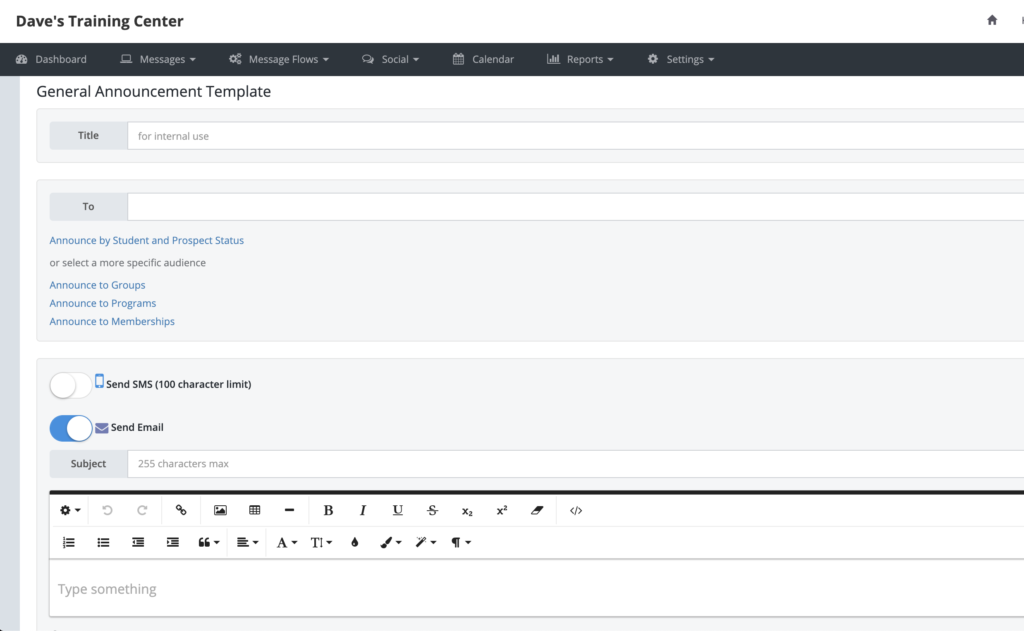
6. In the General Announcement Template section, fill out all of the information that you would like on the template (you can use this information in future messages):
- Title field: Type the subject of the announcement.
- To field: Type email addresses, or select students or prospects by clicking the links under the To field.
- Send SMS toggle: Toggle this On to send the announcement as a text message. Type the message in the SMS field.
- Send Email toggle: Toggle this to On to send the announcement as an email message.
- Subject field: Type the subject of the announcement (this is the email’s subject).
- Body field: Type the body of the email in the large text field. You can format the text and add images if desired.
- Choose File: Click this button if you want to attach a file to the message.
7. After you have added all of the areas you would like to reuse, click the Save Template button at the bottom of the page.

To use an Announcement Template:
1. Hover over the Messages menu and click Announcement Templates.
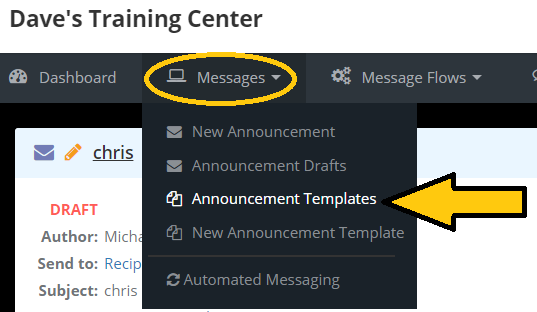
2. Click the category you saved the template under, and then click on the template itself.

3. Create an announcement using the template by clicking on the New Announcement button.
