How to Promote Ranks in a Belt Testing Event
If you created a Belt Test Event for your belt promotion test, you can promote the students who pass the belt test from the Event page.
First Steps
Create the Belt Test Event and select the testing students on the Candidate List.
To promote students from the Events Page:
1. In the left panel, click Events and then click Events List; click the name of the event in the Current Events list. (Note: If you recently created the event, you may be able to find it on the dashboard in the Recent Activity section on the far right side; click the event name to open the event.)
- To promote individual students, click the Promote button on the row for each appropriate student.
- To promote multiple students, click the check box next to each student’s name. You can click the Select All button to select all students. (If needed, click the check box to deselect any students that will not be promoted.)
2. Click the Promote button inside the Actions box.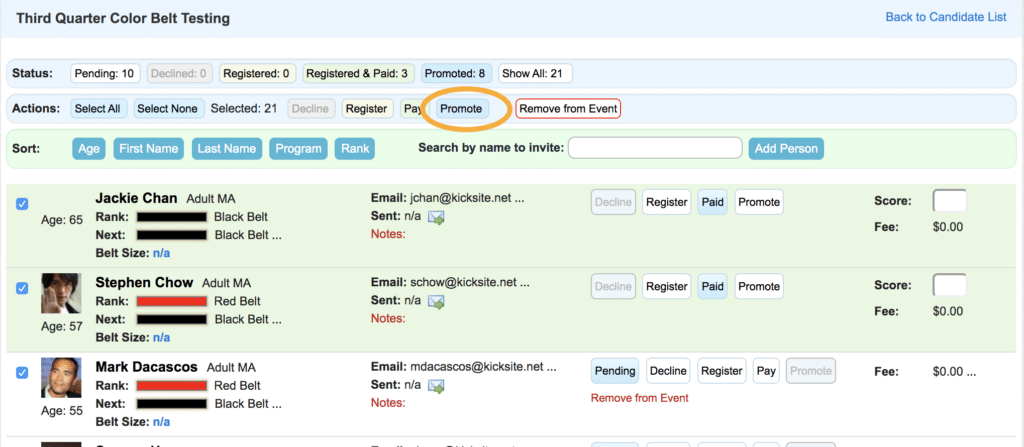
3. If you have empty Score fields, you will see a pop-up asking if you want to promote. Click OK.
4. The Record Promotions pop-up appears. If needed, click the clock icon to change the date to the original testing date.
5. Click the Promote button.
The Events page refreshes and a notification appears at the top of the page. The notification lists how many students were promoted, if any students have already been promoted, or if any of the promotions failed.
What’s Next?
If you had a last-minute change and need to promote one or more students outside the event, you can promote ranks on the student profile.