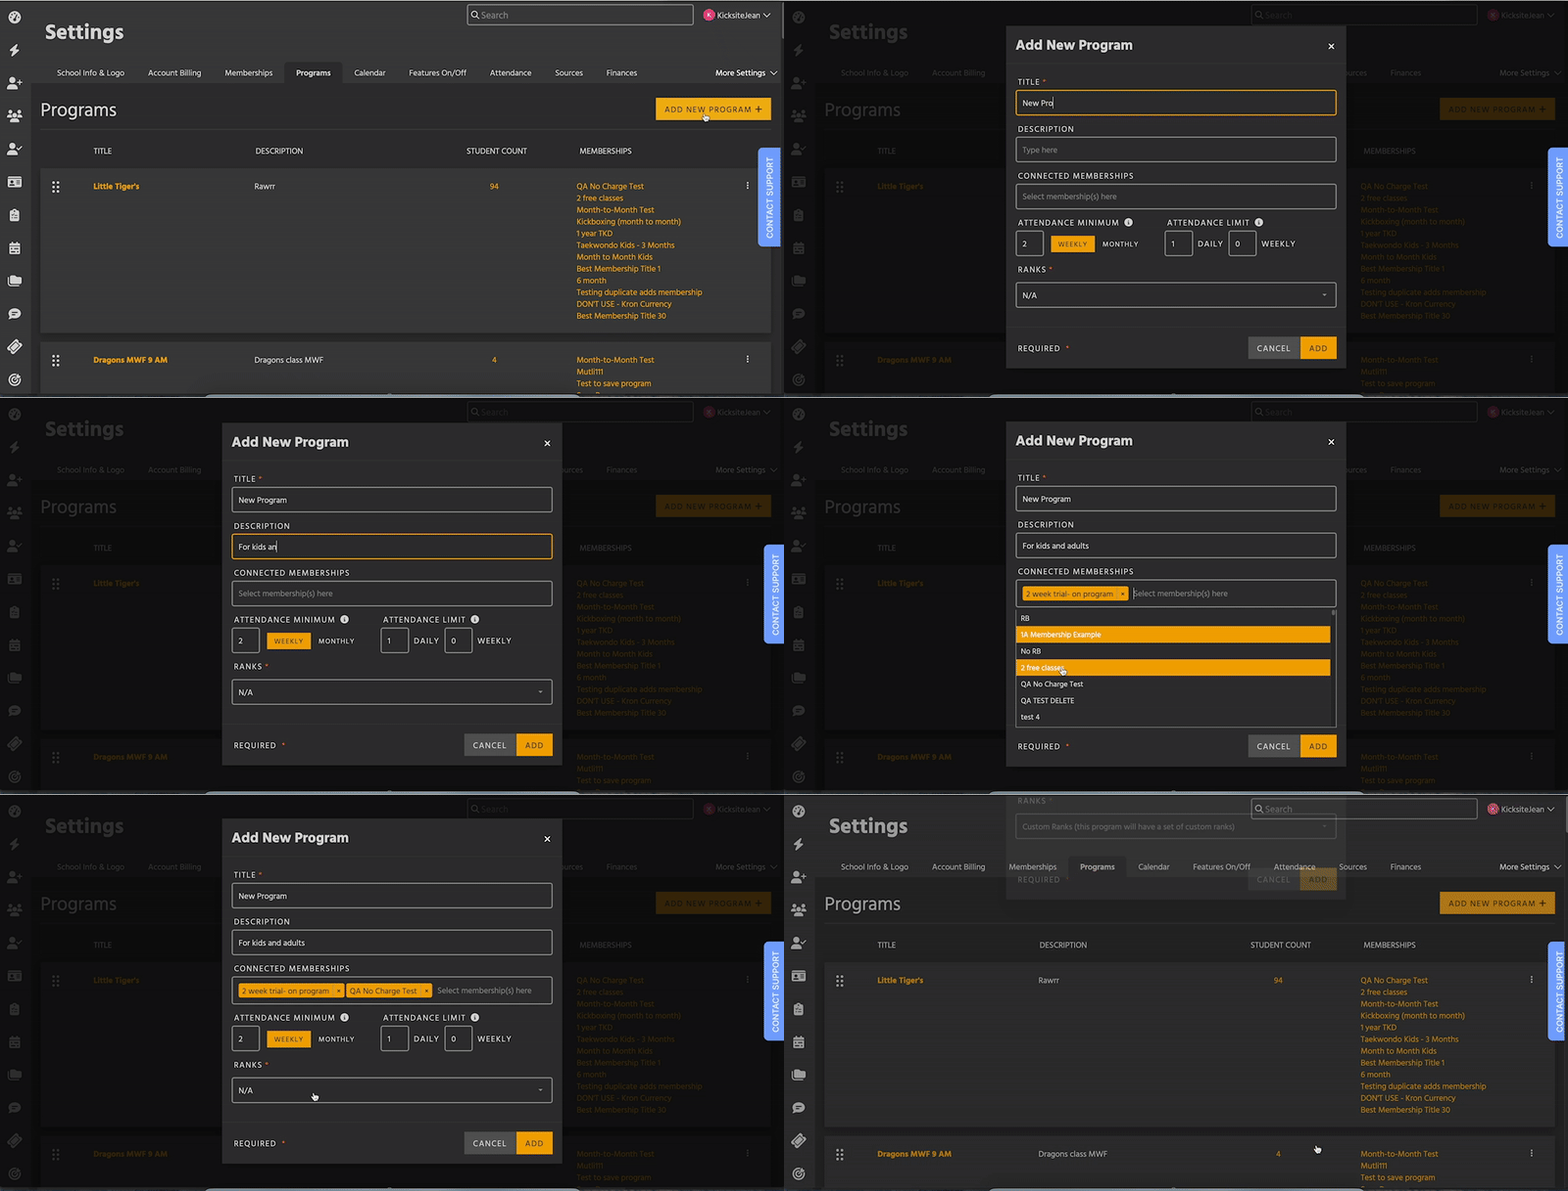
Adding Ranks and Custom Belt Graphics
Kicksite makes it easy to customize the system to fit your school’s curriculum. This includes the ability to add in the core rank structures and add graphics to create virtual belts that match students’ actual belts.
Note: If your school or studio is part of an association that has restrictions on adding or updating programs or ranks, please email us at support@kicksite.net and Support will be glad to help add or update your school’s programs or ranks.
To add ranks and custom belt graphics:
1. Click Quick Links in the left sidebar, click Settings, and then click Programs Settings. (Alternatively, click your username in the upper-right corner, and then click Settings in the menu. Click Programs near the top of the screen.)
2. Click the program name for the program you want to add or edit belt ranks. You see the program’s information (Name, Description, number of students attached, Connected Memberships). From here, you can:

- Edit program: Click the large three vertical dots and then click Edit to update the program’s name, connected memberships, or attendance details.
- Delete program: Click the large three vertical dots and then click Delete to permanently delete the program. If any students have the program attached, you will not be able to delete it. You will need to remove the program from all students (active and inactive) first.
- Move ranks: Click the three vertical lines on the left side of a rank and drag up or down the list to change the order of the ranks.
- Edit or delete ranks: Click the three vertical dots on the right side of a rank and click Edit to update the rank’s name or graphics; the steps to edit a rank are the same as adding a new rank (see below). Click Delete to delete the rank. (Again, you can’t delete a rank if any students are attached.)
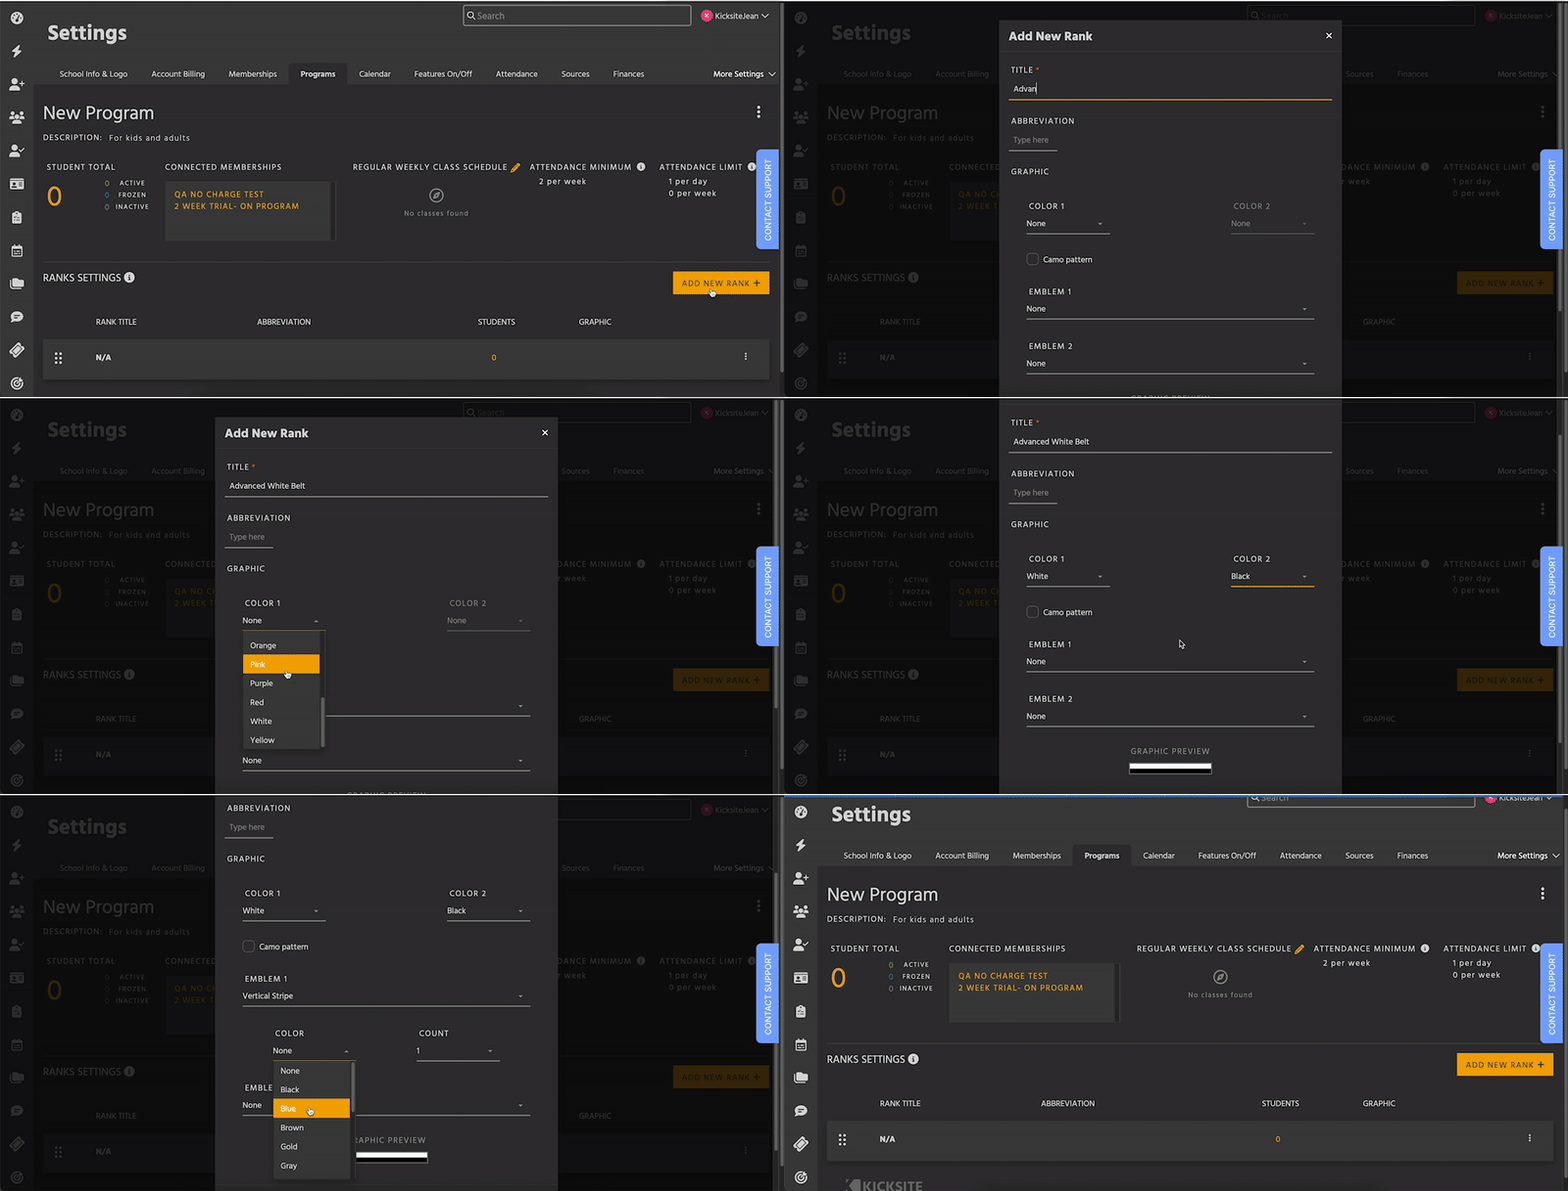
3. Click the Add New Rank+ button to add a rank. (If you need to edit a rank later, the options are the same.)

4. In the Title field, type the name of the rank (for example, White Belt or Green Belt).
5. (Optional) If desired, add an abbreviation for the belt.
6. In Color 1, select the belt’s color. If the belt has a stripe down the middle or is two-toned, you can select the stripe color in Color 2. To create a camouflage belt, select the Camo Pattern check box. (As you add the belt color and other options, the belt graphic at the bottom of the window will update to show what the belt looks like with the currently selected options.)
7. If the belt needs a tip, star, or stripe at the end, select the desired option from Emblem 1. You can choose from Vertical Stripe, I, V, X, and *. (Tip: Vertical Stripe creates a thick line, which looks like a tape tip on a belt.) From the Color drop-down list, select the emblem’s color; from the Count drop-down list, select the number of emblems that should appear on the belt.
If needed, repeat Step 7 under Emblem 2.
8. Click the Add button to add the rank. (If you’re editing a belt, click the Save button.)
Repeat Steps 3 through 8 for each rank you need in the program.
Here are a few examples of the different belt options that you can create:

Note: Not all ranks carry a belt so, in some cases, no graphics will be required. This includes N/A ranks or ranks that don’t have a physical belt to represent.
What’s Next?
After you create the programs and add ranks and belt graphics, consider setting up Testing Eligibility, adding Attendance Details, and setting up Attendance Awards. Also, make sure you set up memberships.