How to Bulk Edit Prospects
The Bulk Edit feature allows you to change the status of multiple prospects at once. You can use bulk edit to:
- Archive prospects
- Activate prospects (that were previously archived)
- Delete unwanted prospects
(Just remember that if you delete a prospect, their information will be immediately and permanently removed from Kicksite. Generally, Kicksite recommends archiving prospects rather than deleting them.)
To use bulk edit on the Prospects List:
1. On the left panel, click Profiles, and then click Prospects.
2. Select the check box(s) next to the prospect’s name for the prospect(s) you want to edit. If you want to edit all prospects, select the check box to the left of Bulk Edit.
To bulk edit by status, click a status at the top of the list: Leads, Appointments, Trials, or Archived.
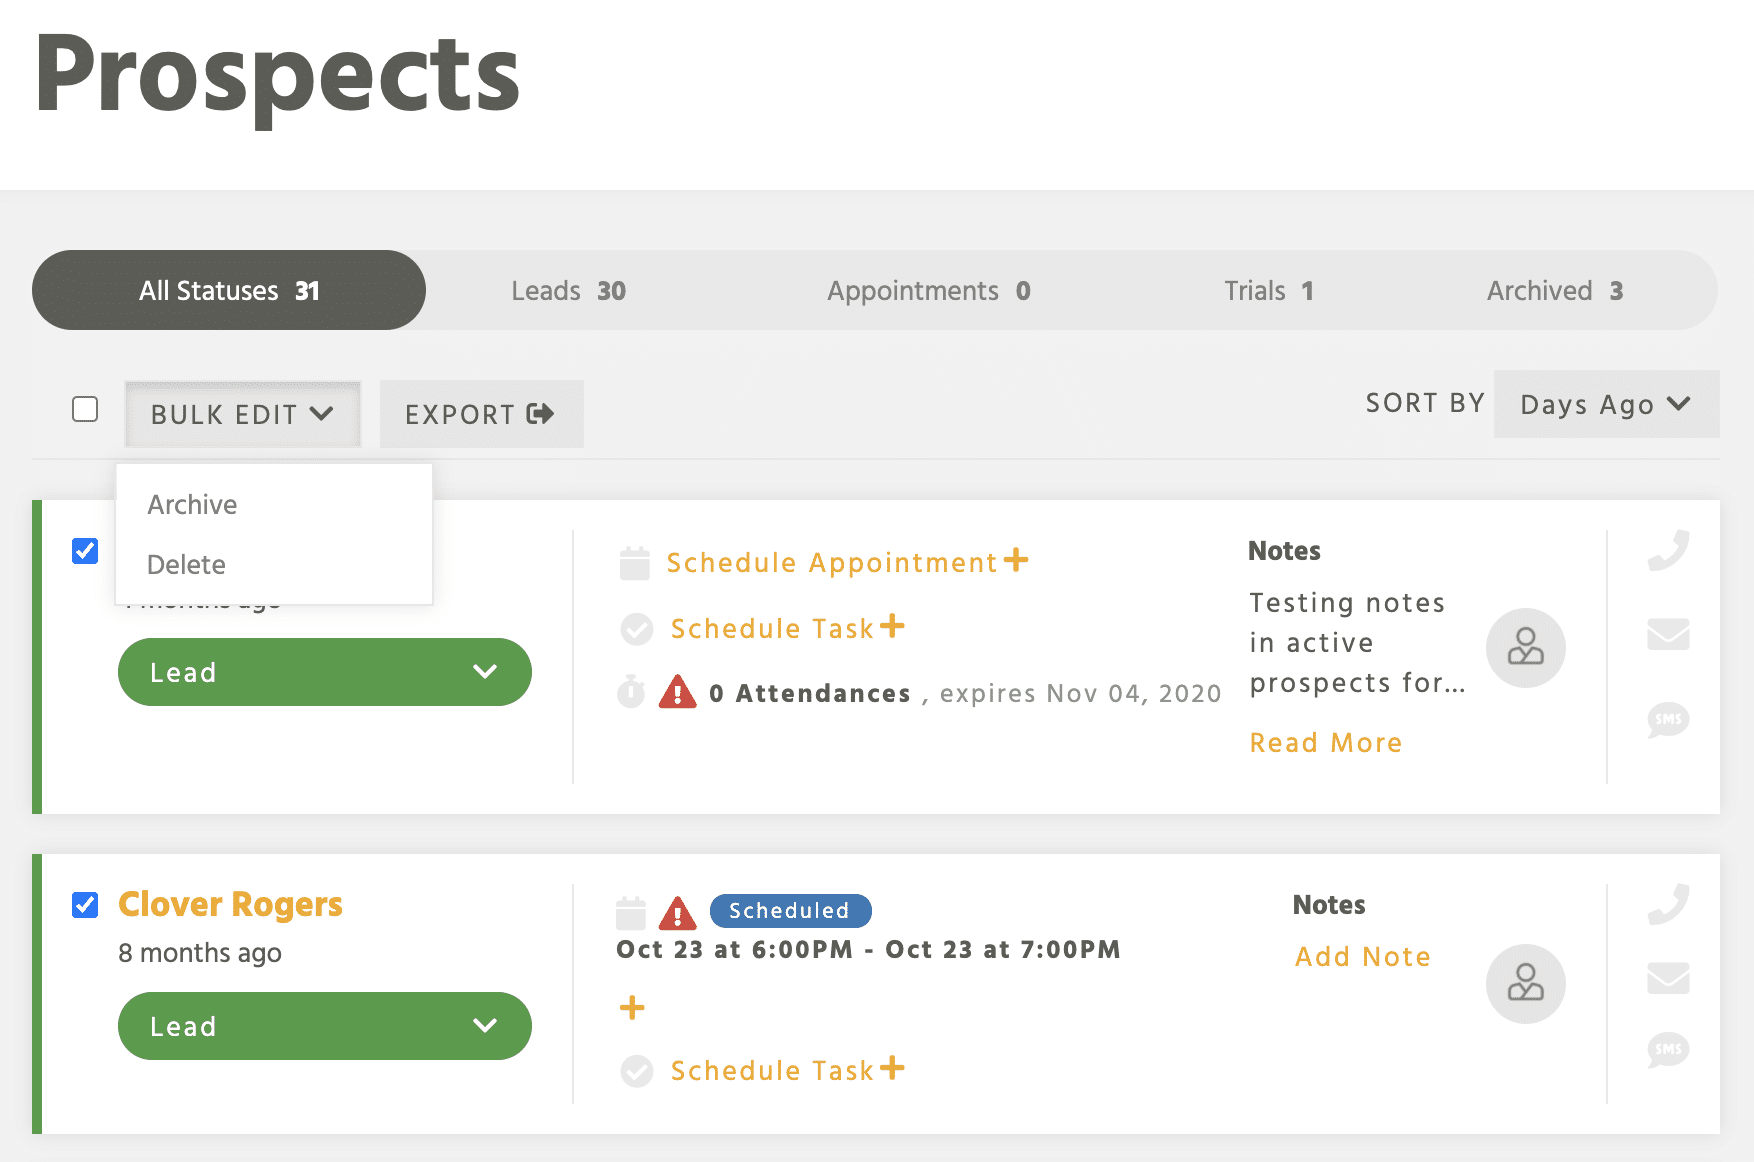
3. Click Bulk Edit and select to either Archive or Delete.
If the prospect is already archived, then your options are to Activate or Delete. (Again, if you choose Delete, the prospects are permanently deleted.)
4. The system will pop up a message to confirm your action. Click the orange button to confirm the update.
The system may take a few minutes to complete your request, depending on how many prospects you wish to bulk edit. When the update is finished, you will see a message indicating that the edit completed.