Kicksite Knowledge Base
How to Share a Lead Capture Form
After you create a Lead Capture Form, you generally will want to add it to a Landing Page so the sign up form can include an image, descriptive text, and more. However, you can share just the Lead Capture Form if you want to provide a quick, simple sign up form.
To share a Lead Capture Form
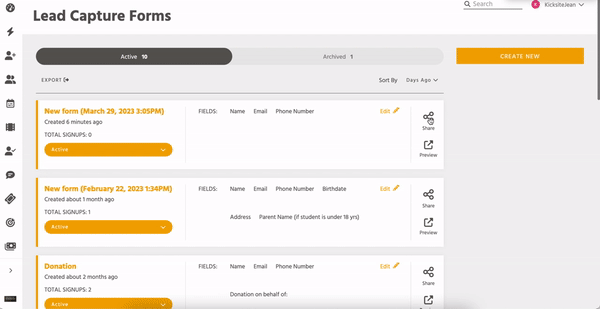
1. On the left panel, click Marketing Tools, and then click Lead Capture Forms.
2. Hover over the Share icon and then click an option:
- Link: Click Link and then Copy. The link is copied to your device’s clipboard; you can then paste the link in an email, social media post, or more.
- Embed Code: Click Embed Code and then click Copy. You can then paste the code into an email to send to your webmaster, or paste the code into your website code yourself.
- QR Code: Click QR Code. If desired, you can click the Show Logo toggle to remove the logo in the center of the QR code. Click Download. The QR code image file (.png) downloads to your device. You can share the QR code on flyers, business cards, and so on.
After you create the Lead Capture form, consider creating a Landing Page to provide more information about the form and what a prospect is signing up for. If you no longer need the form, archive it. Also, consider some of the tips to nurture your prospects.