How to View and Update Finances on the Member Portal
One of the new and helpful features of the updated Member Portal is the ability to view and update your finances. Read on for more information!
Keep in mind that if your school does not process billing through Kicksite, the Finance screen will not have the option to add a card. See your school’s owner or manager if you have questions about your billing.
How to view and update finances
After you log in, click Finances on the left panel (if you’re on a computer) or tap the hamburger menu in the upper-left corner (if you’re on a tablet or smartphone) and then tap Finances.
The Finances screen has four tabs along the top of the screen (Invoices, Recurring Billings, Payments, and Wallet). (If your school does not process billing with Kicksite, you will only see Invoices and Payments.)
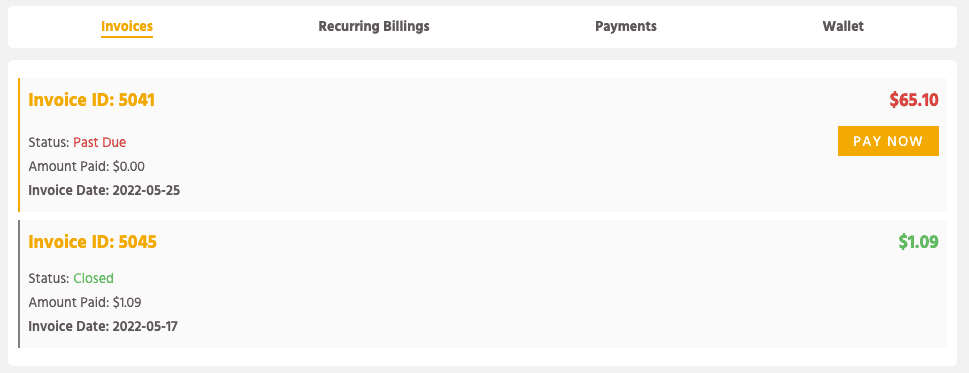
The Invoices tab shows any invoices you have. If you have an invoice that has not yet been paid, you’ll see a Pay Now button. Click or tap the Pay Now button, click or tap the card you want to use, and then click or tap Pay.
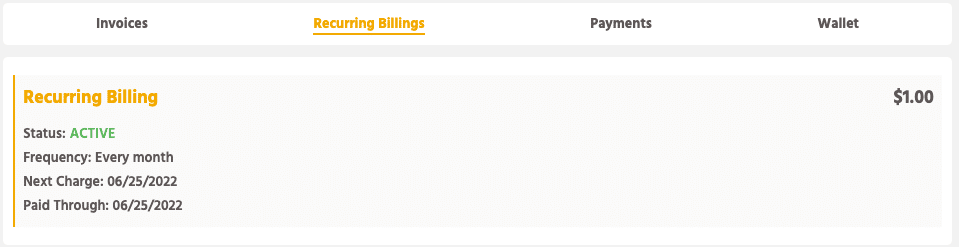
The Recurring Billings tab shows any billings you have. If you have more than one card on file, you can change the card that the recurring billing charges. Click or tap Recurring Billing. Click or tap Switch Card, and then click or tap the desired card. Click or tap Save. If you need to make other changes to a recurring billing, you will need to speak to your school’s admin or manager.
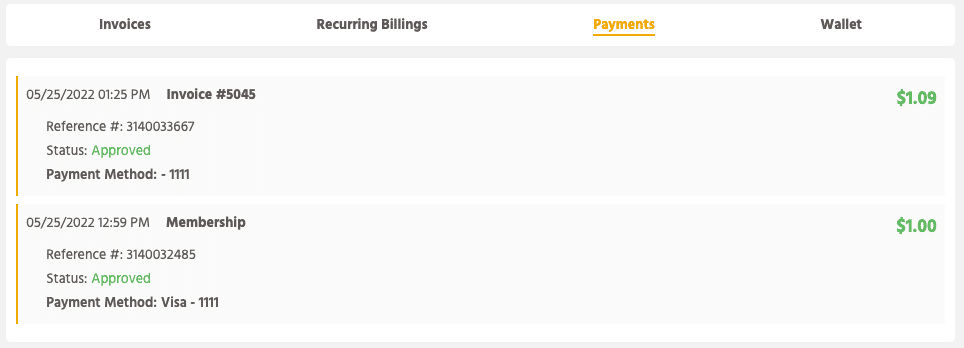
The Payments tab shows a list of your payments.
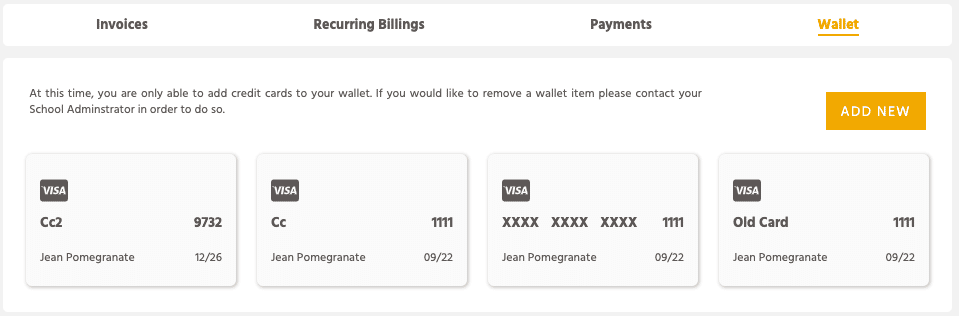
The Wallet tab shows the card(s) that you have on file. You can add a new card, but you cannot delete a card. If you need to delete a card, you will need to speak to your school admin or manager.
Remember: If you enter a new card and you want to use that card for a recurring billing, you MUST click the Recurring Billing tab, click or tap Switch Card, and then click or tap the desired card. Click or tap Save.
To add a new card
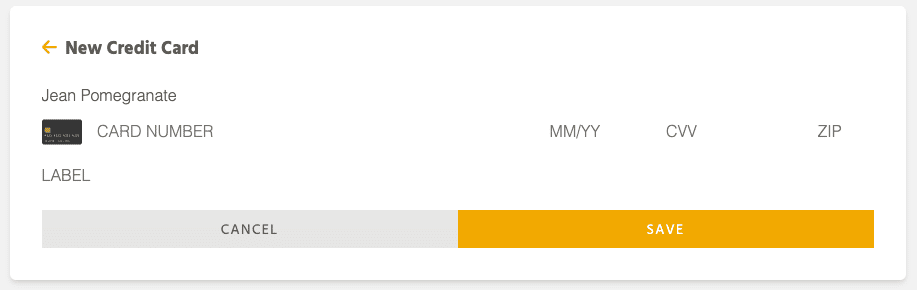
1. On the Wallet tab, click or tap the Add New button.
2. In the Card Number field, type the card number.
3. In the MM/YY field, type the expiration date.
4. In the CVV field, type the CVV number (on the back of the card).
5. In the Zip field, type your billing zip code. If desired, type a short description in the Label field (such as My Debit Card or For Membership Only).
6. Click or tap Save.
To edit the label for a card
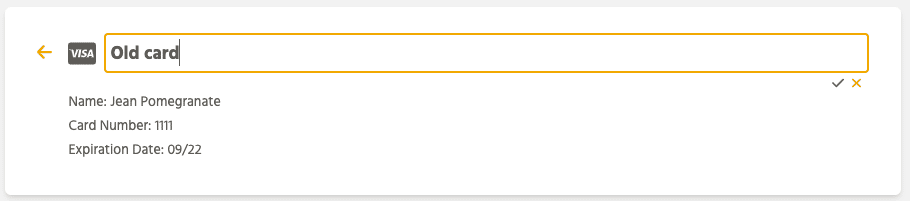
1. On the Wallet tab, click or tap the card.
2. Click or tap the pencil icon, and then type a new label.
3. Click or tap the check mark to save the new label.