How to Set Up the Scheduler and Membership Flow on a Landing Page
This article takes you through the main steps to set up a your Programs/Ranks, Scheduler, Memberships, and Landing Pages to make signing up a new student even easier! Included in each section are links to articles with the steps to complete each task. Tip: Command+click or Ctrl+click the following links to the how-to articles — this will open the linked article in a new tab in your browser, so you can easily come back to this article for the next step.
Please note: Your school needs to have billing enabled in your Kicksite account in order to sell a membership using Marketing Tools (formerly called BizBuilders). (If you do not yet have billing, but would like to add it, here is how to request billing.)
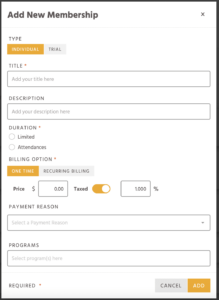
Step 1: Create (or edit) memberships
The steps for creating and editing a membership are essentially the same. Click the following link to find out how to create a new membership.
Step 2: Create (or edit) Programs and Ranks
Here’s how to create Programs and Ranks. When you add a new program (or edit a program), be sure to add the membership(s) that can be used to pay for the program.

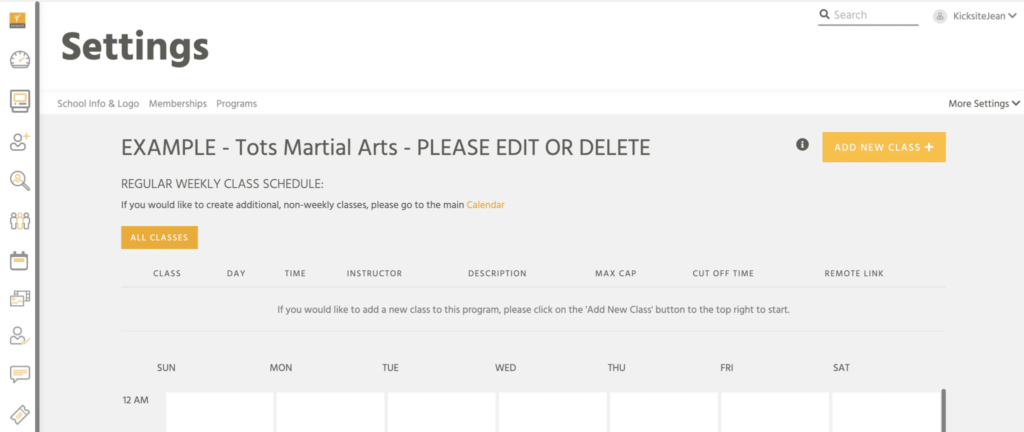
Step 3: Create (or edit) your weekly class schedule for each program
Here’s how to add your regular, weekly class schedule. (Note: Be sure to add the weekly schedule in Program Settings. If you add a class or update a class on the Calendar, you will just add one class or edit one class.)
Step 4: Create (or edit) a Lead Capture Form and then create (or edit) a Landing Page
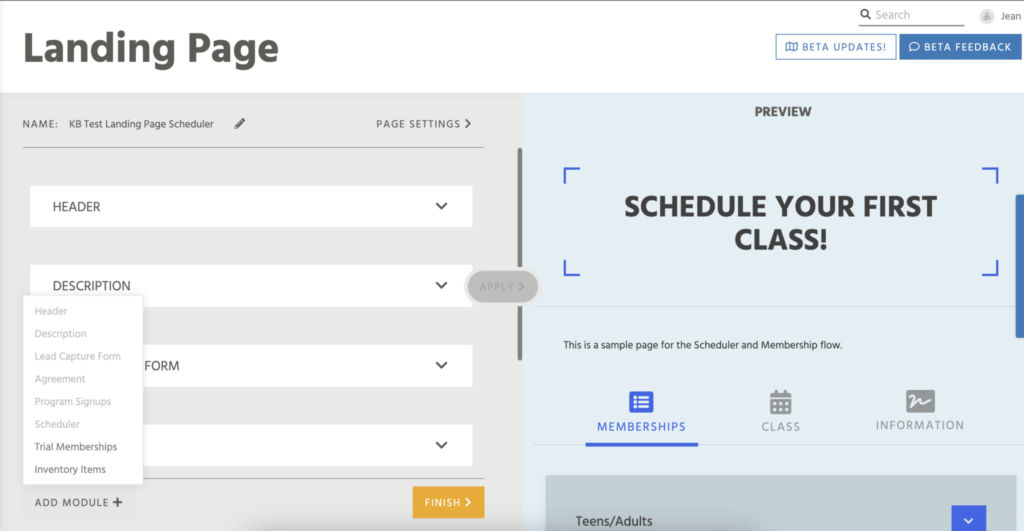
You can use the default Lead Capture Form or create a new Lead Capture Form. The Lead Capture Form is the form that a new prospect or student will fill out to provide some basic information. This information is then captured in your Kicksite account.
You then need to create a Landing Page. If you already have a Landing Page and need to edit it, the steps are similar to edit as to create a new Landing Page.
Step 5: Share your Landing Page so new students or new prospects can sign up!
You can share your Landing Page in several ways:
- Open the Landing Page on a tablet in Kiosk mode. This is helpful if you anticipate having multiple people signing up in person.
- Embed your Landing Page on your website or share a link via email.
- Create and print a QR code to enable people to pull up the Landing Page on their smartphone.
New students or prospects can sign up on your Landing Page. They will go through four main steps:
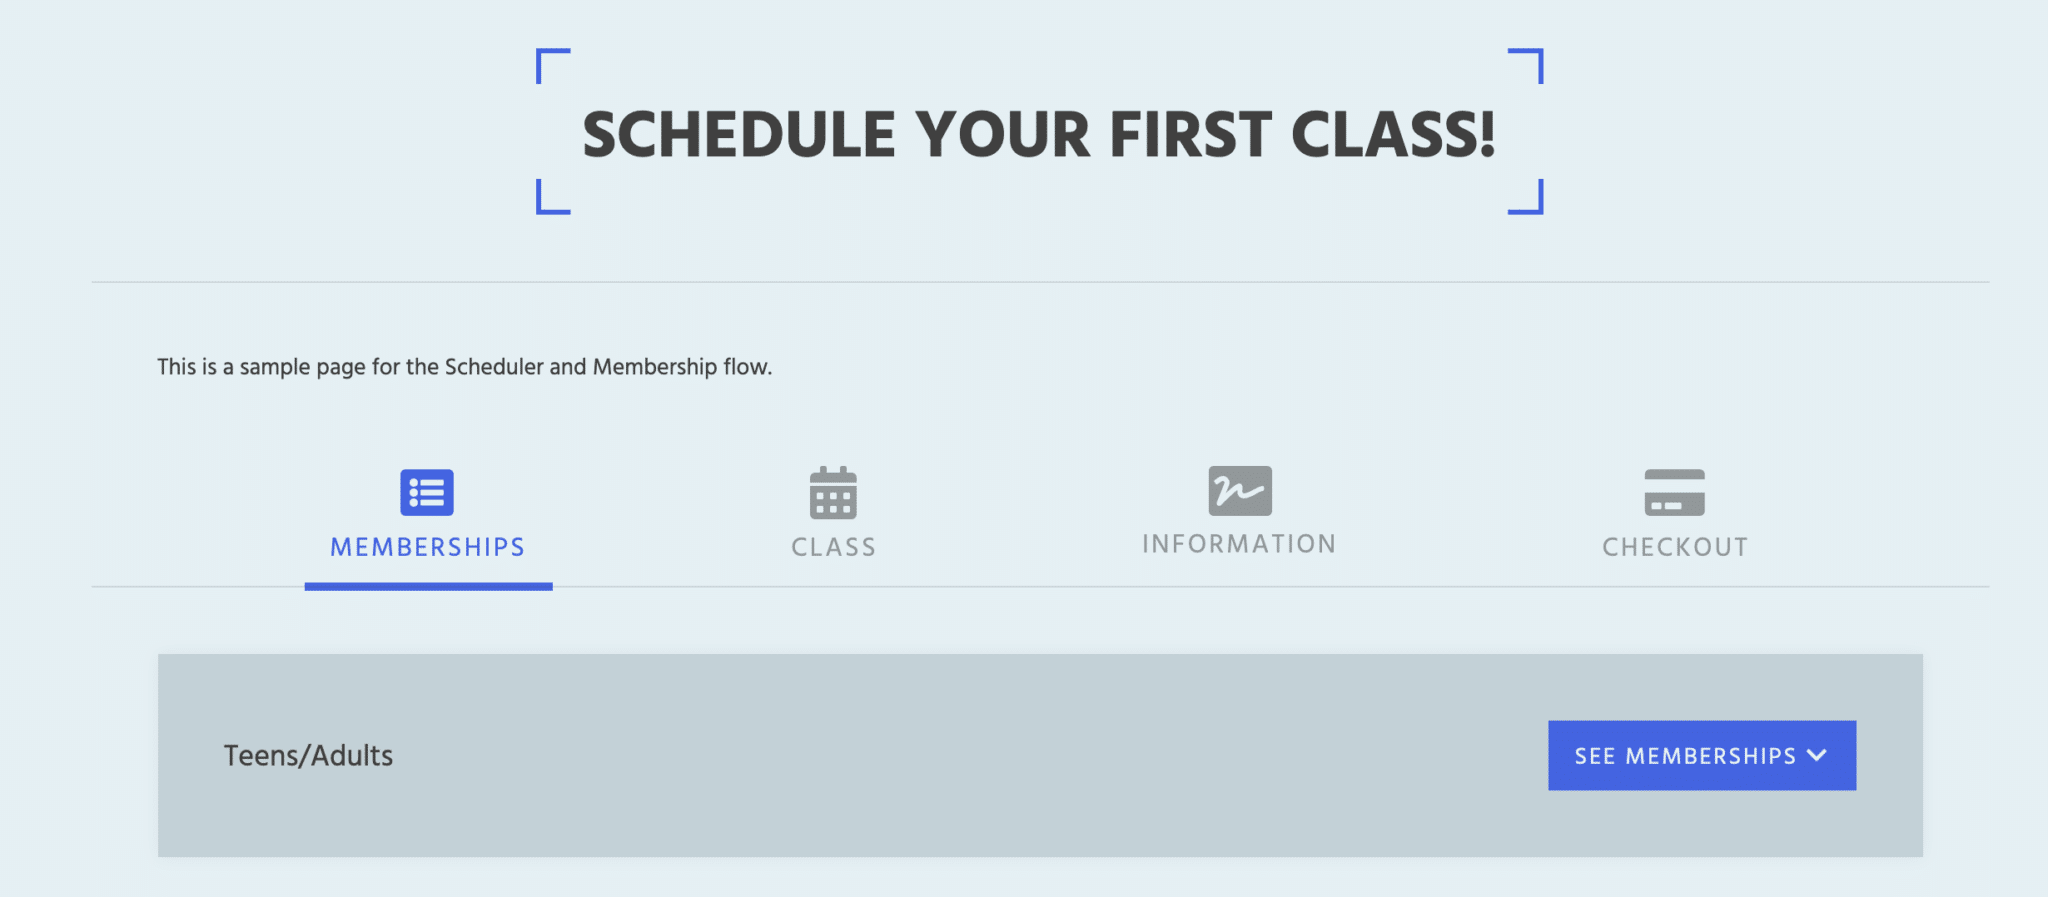
1. Memberships: Select a membership.
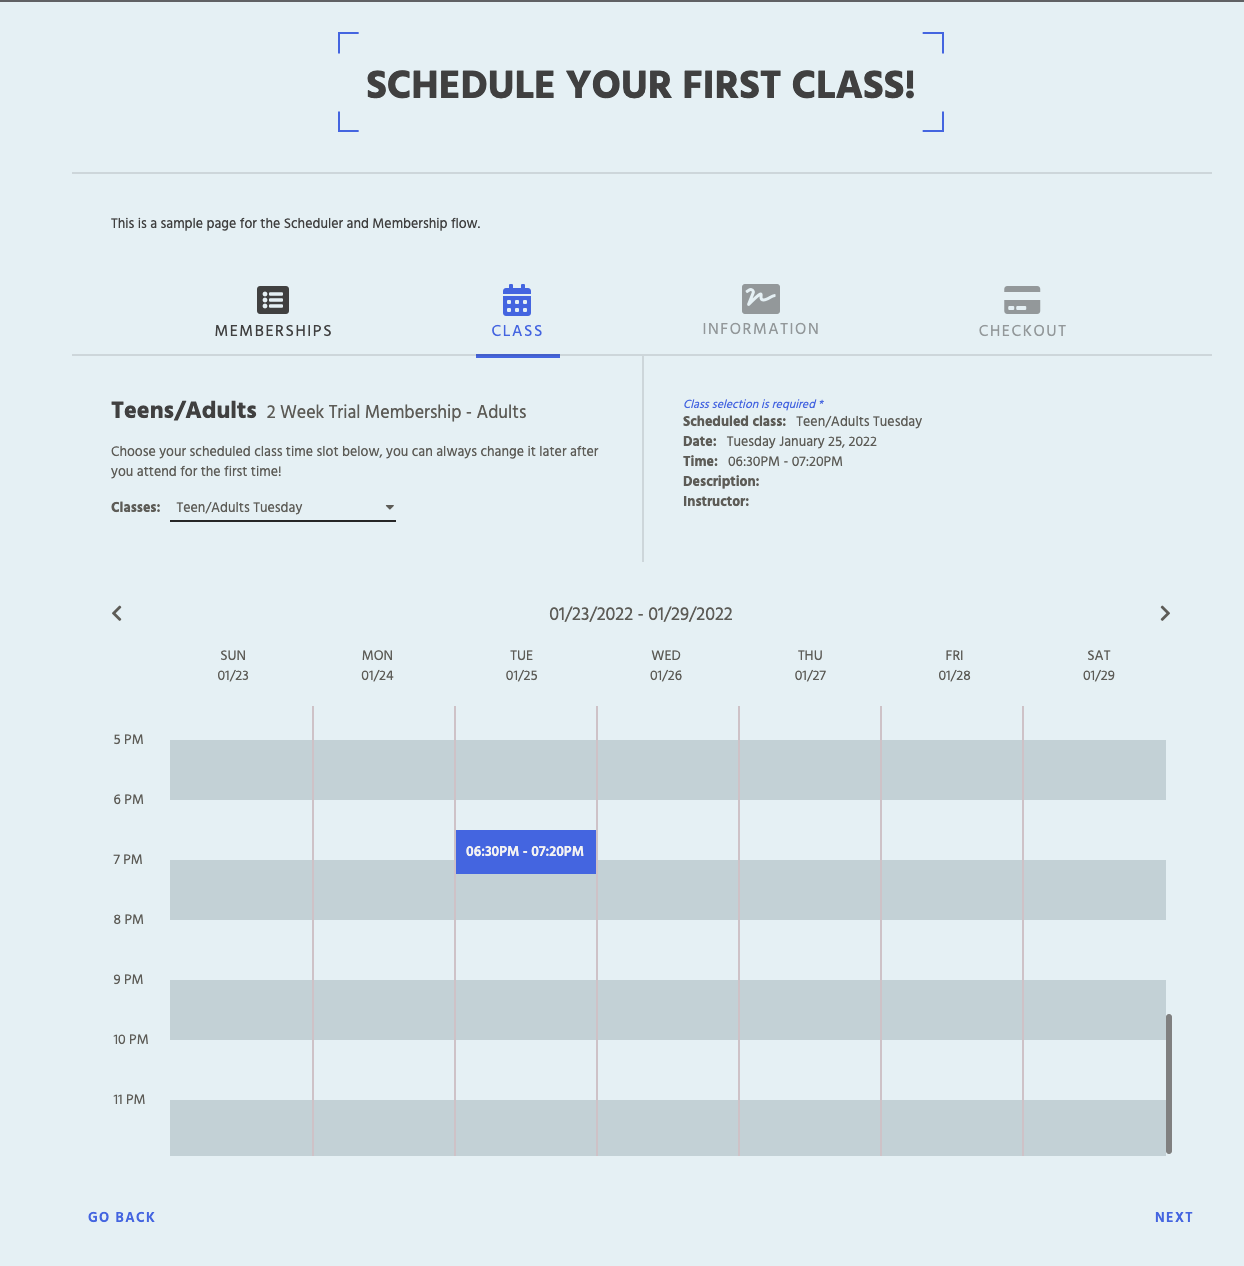
2. Class: Select the class date and time.
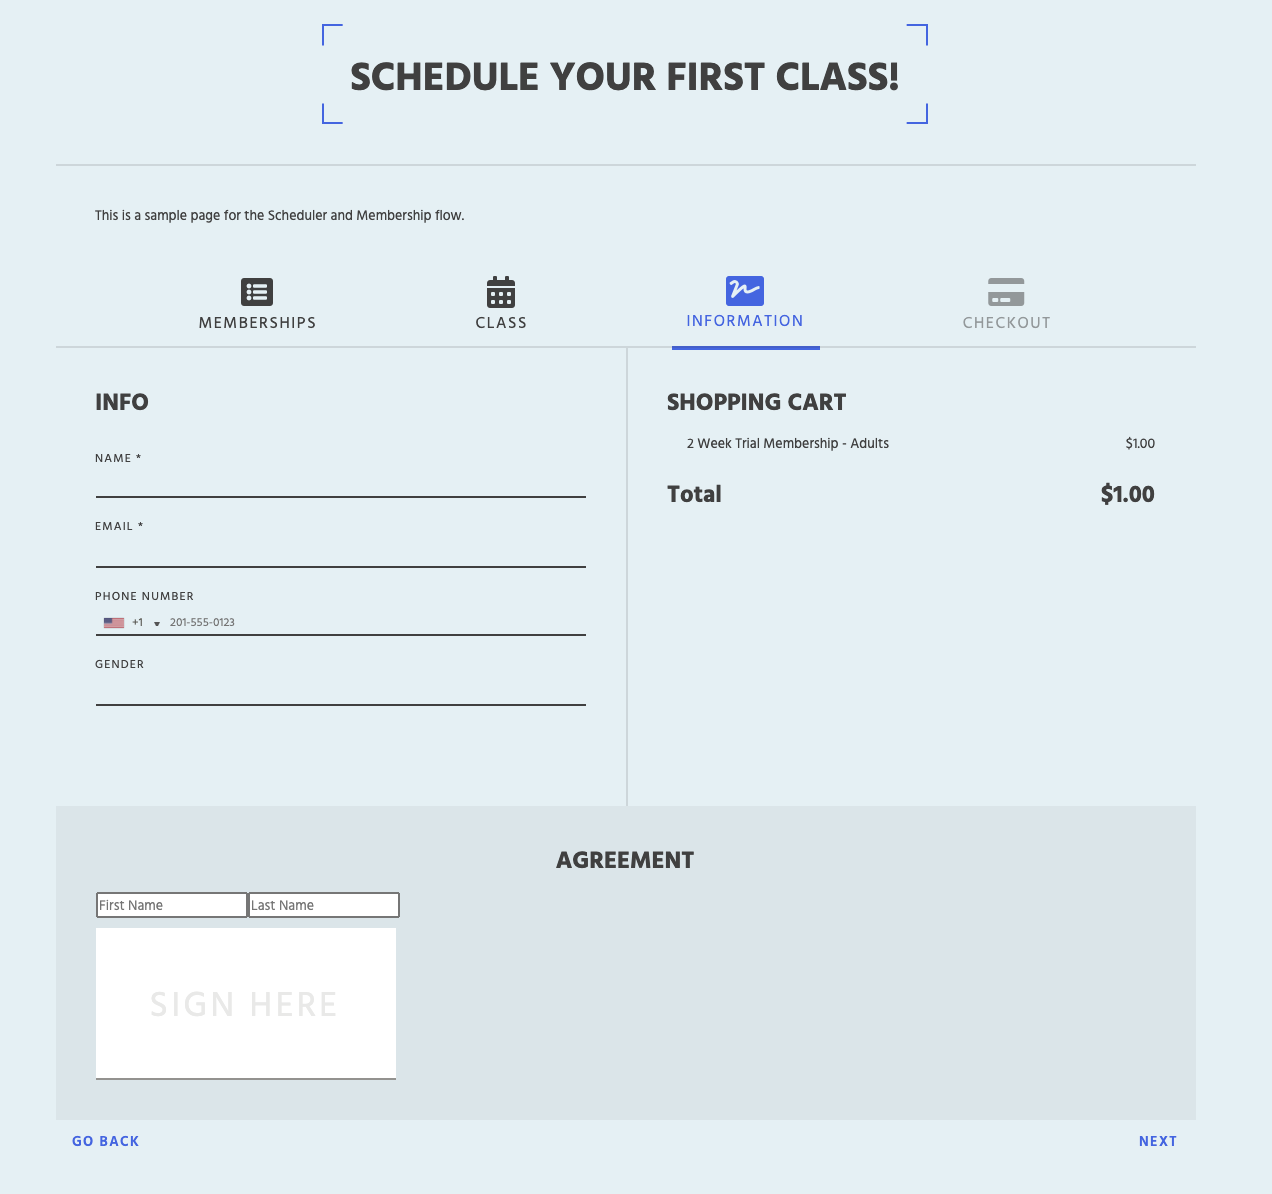
3. Information: Fill in the form with personal information; (optional) sign an agreement/waiver, and (optional) select any Profit Items to purchase.
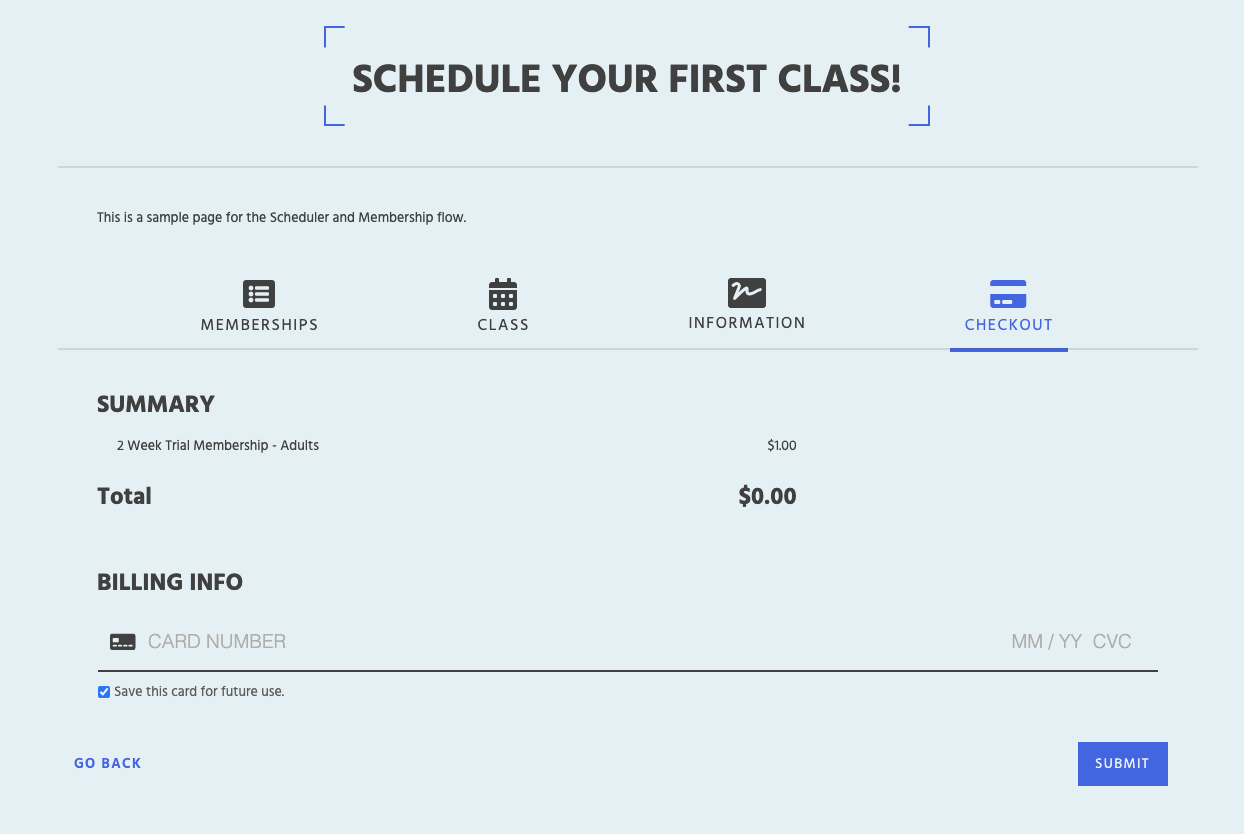
4. Checkout: Fill in their payment information (if they have selected a membership or Profit Item that they will pay for immediately) and click the Submit button.
Please note: As of this writing, the new options for memberships (specifically the billing option and program) aren’t available to add to existing students. When this functionality is available, the Kicksite team will update the memberships articles.