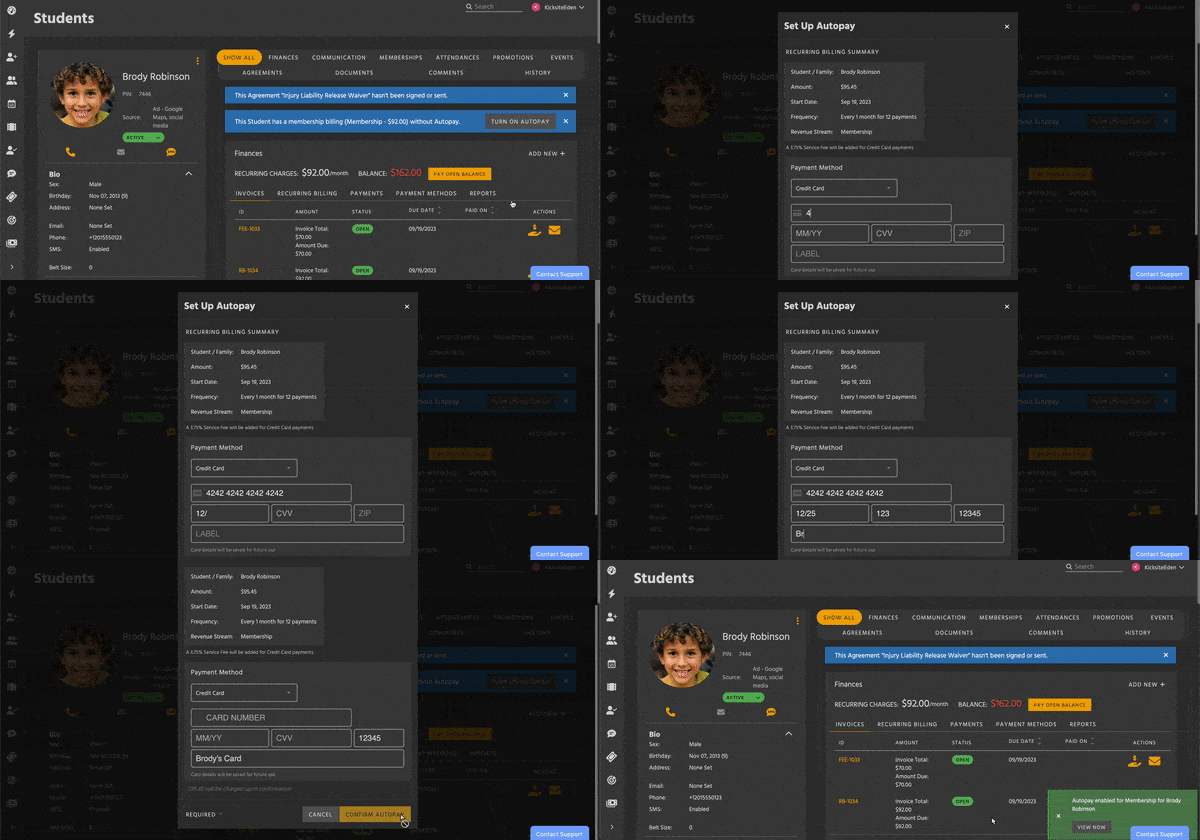
How to Create a New Student
When adding a new student (or member, for some accounts) to Kicksite, you have two options: Quick Add and the full Add New Student page.
Quick Add
Quickly add a student from the sidebar, where you only enter their name and contact information. From here, you can proceed into Student Sign-Up.
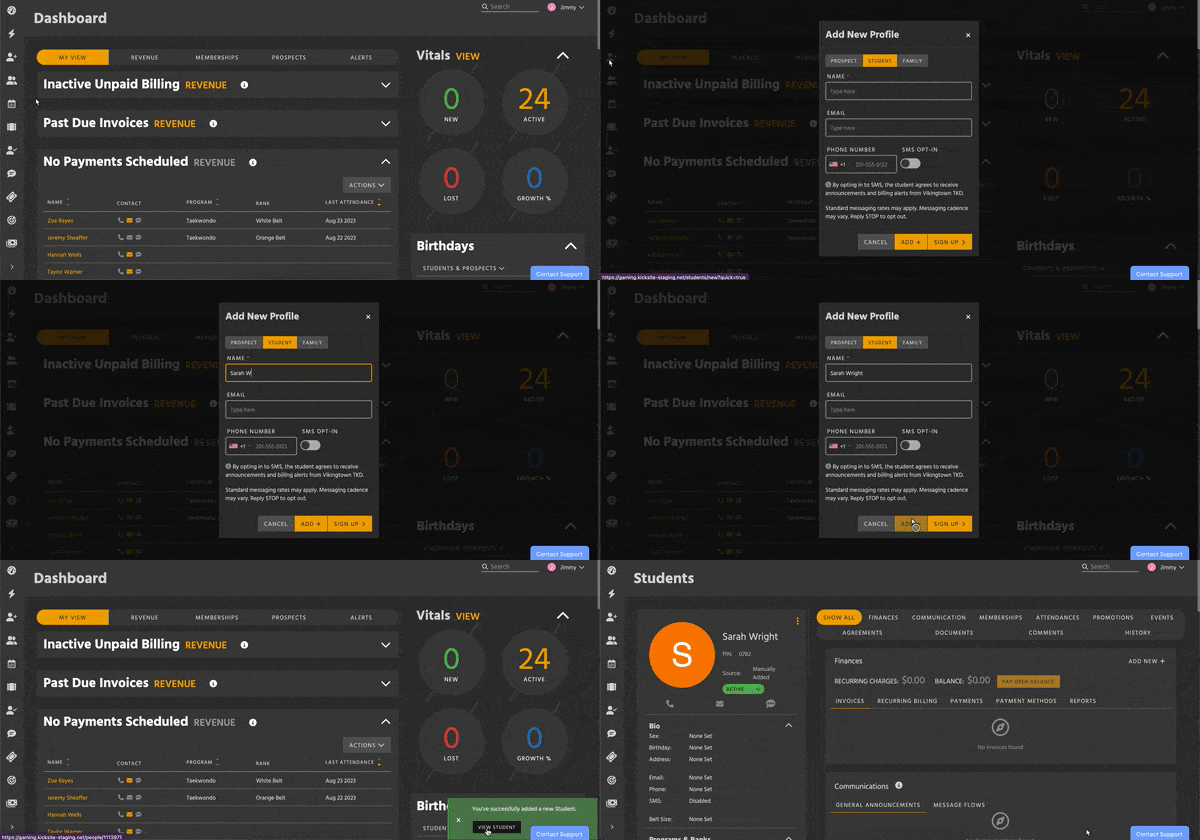
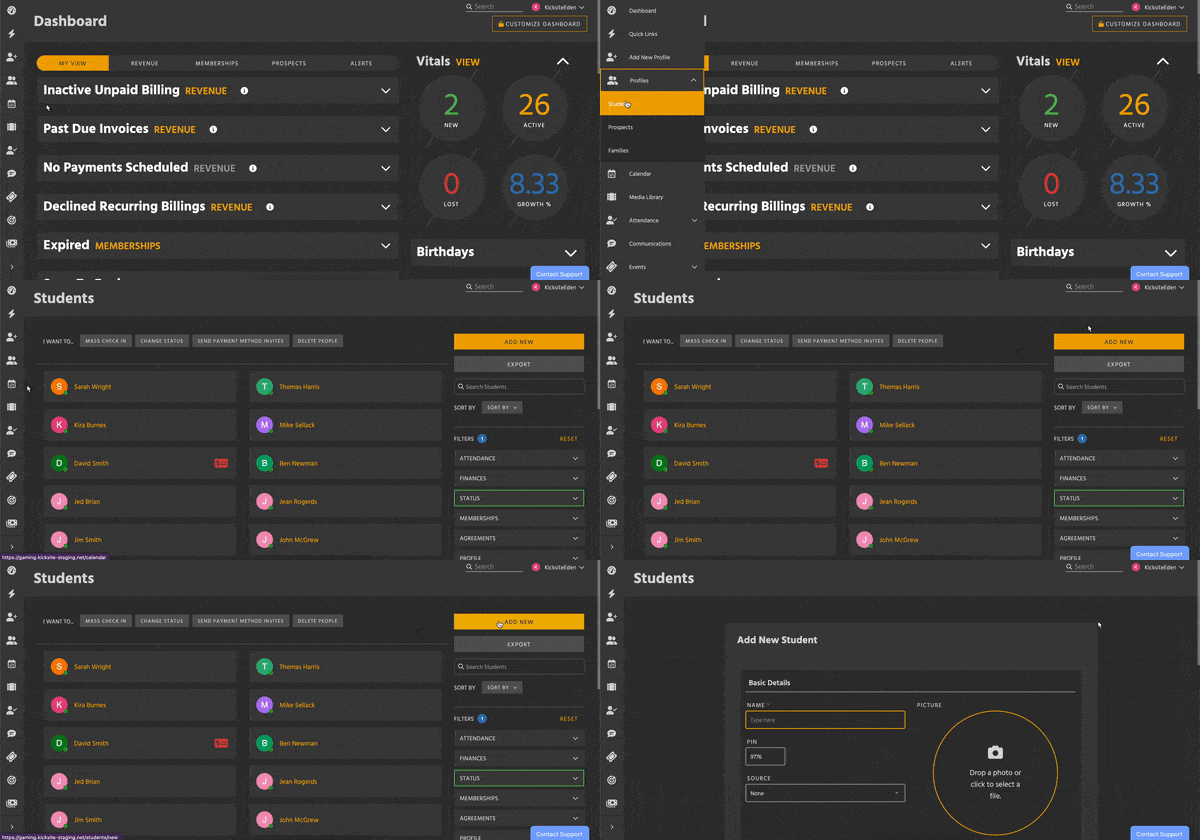
The Add New Student page
Alternatively, you can use the full Add New Student page to enter much more information. Search Quick Links, or click Add New on the Student List.
Sections of the Add New Student page
There are multiple sections on the Add New Student page, which can be expanded or collapsed according to your needs.
The only required field on this page is the student’s name. Beyond that, all other fields are optional. Use what you need for your school’s operations. Remember, you can add or edit information later from the student’s profile.
Basic Details
This section contains the simplest information about your new student.
- Name
- Enter your student’s full name, including any suffixes. This is the only required field on the Add New Student page; everything else is optional.
- PIN
- Instead of using the pre-generated PIN, you can enter a custom PIN. No other prospect or student can be using that PIN.
- Default PIN length can be configured in your settings.
- Source
- Track where your students come from with sources.
- Profile Photo
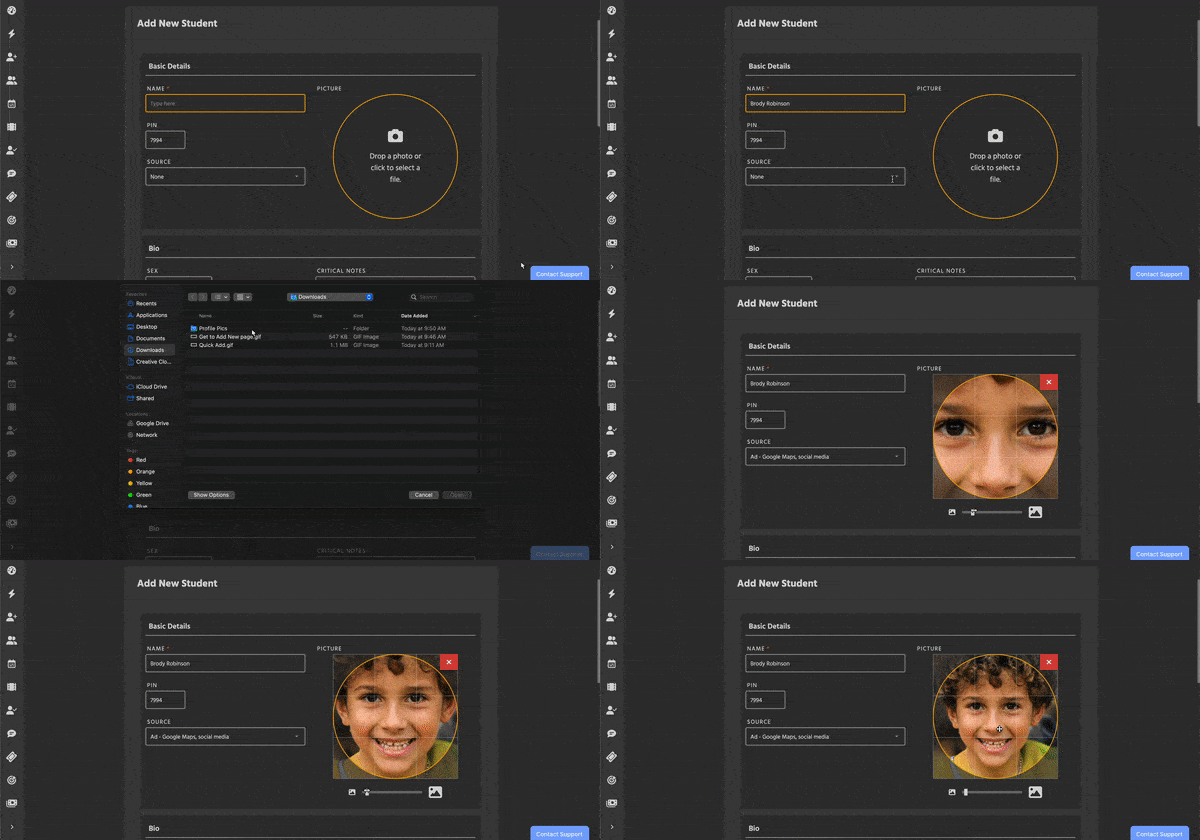
- Click inside the yellow circle or drag and drop a photo to upload a profile picture. You’ll be able to crop and resize the image before saving.
- The student’s first initial will be used if you don’t upload a photo.
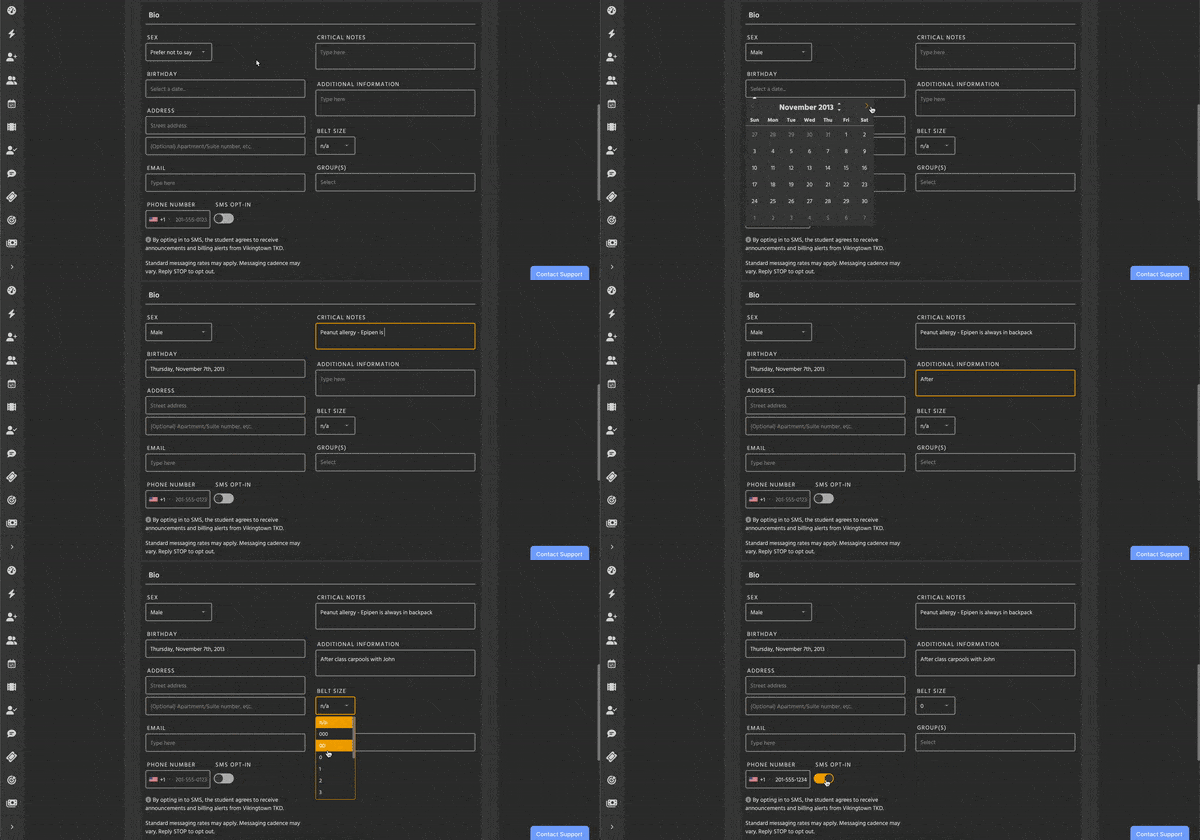
Bio
This section contains the student’s contact information, as well as personal information and notes.
- Sex
- Birthday
- Address
- Email
- This email will be the student’s primary email address.
- You can specify communication preferences on the student’s profile, and add additional email addresses.
- Phone
- Use the SMS toggle to indicate if this phone number can receive text messages.
- Critical Notes
- Add crucial information like medical conditions.
- Additional Notes
- Belt Size
- Groups
- Select one or more groups.
- Learn more about groups and how to set them up here.
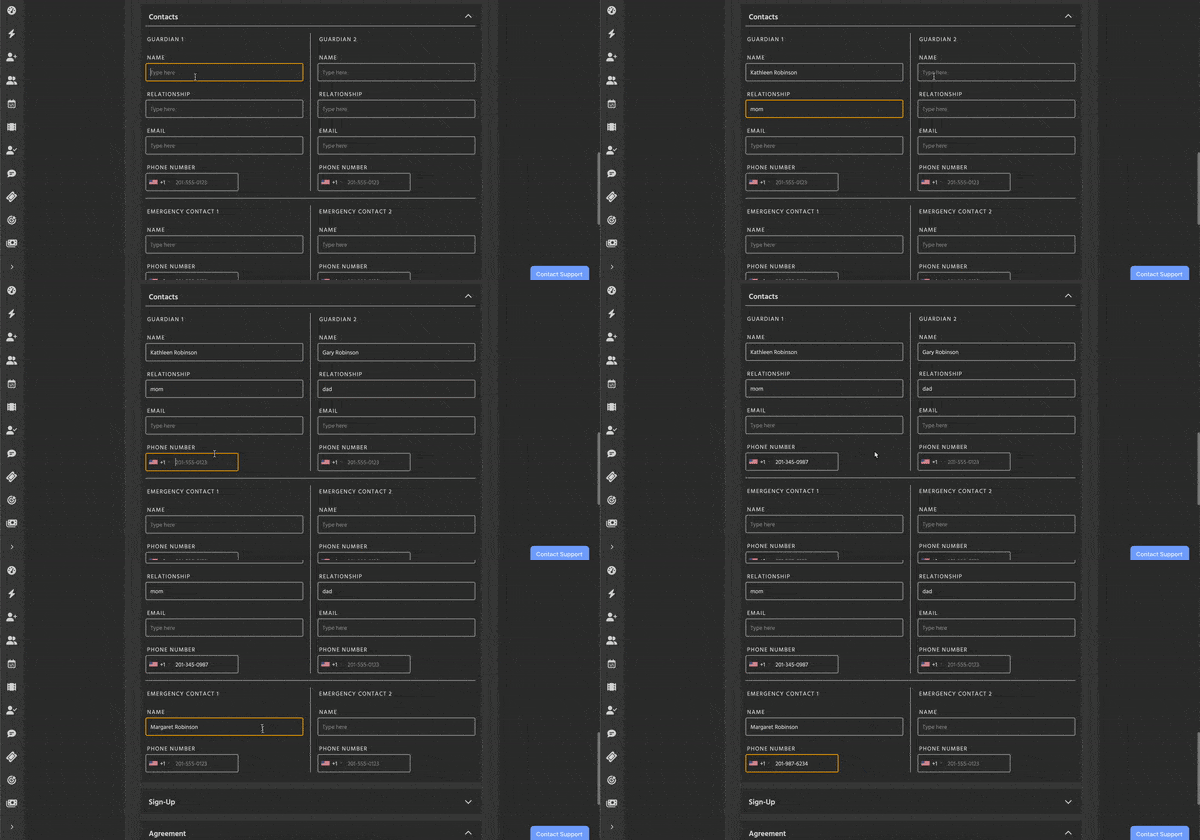
Contacts
- Guardian 1 and 2
- Add names, contact information, and relationship information for up to two guardians.
- Emergency Contact 1 and 2
- Add names and phone numbers for up to two emergency contacts. These can be the same as the student’s guardians.
- Add names and phone numbers for up to two emergency contacts. These can be the same as the student’s guardians.
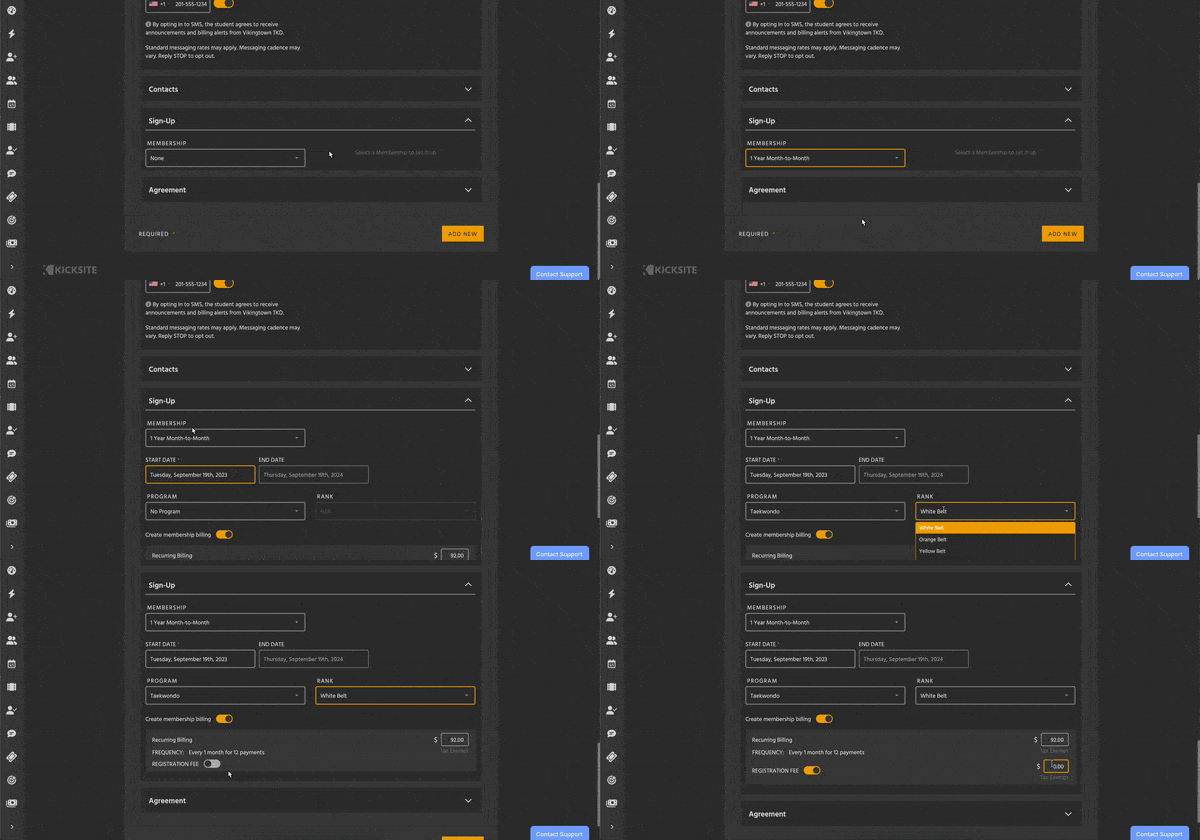
Sign-Up
Add a Program, Membership and even Billing to your new student. To add additional Memberships or Programs, repeat the Student Sign-Up process from their profile after adding them.
- Membership
- Select a Membership Template. To learn more about Membership Templates, including how to set them up, click here.
- If you choose a Template with membership fees, decide if you want a corresponding billing by toggling Create Billing on or off.
- Registration fees can be toggled on or off. Set these up in the Membership Template.
- Program and Rank
- Some Memberships have Programs attached. Attendance-based (punch card) Memberships require a Program and Rank.
- Only one Program can be chosen on this page, but you can select more on the Student’s profile after adding them.
Agreement
- Select an Agreement Template. To learn more about Agreement Templates, including how to set them up, click here.
- If you toggle on Send By Email, a link to sign the Agreement will be emailed to the Student right after clicking Add New.
- A valid email address must be entered in the Bio section before you can turn this on.
- Click Customize Personal Information if you need to override token details.
- For example, if you had the ((first_name)) token in the Agreement Template, but you’re having a parent fill out the contract for their child, you can enter the guardian’s information instead.
Next Steps
Finally, click Add New. This will take you to the Student’s profile. You can’t continue if there are errors.
A blue notification banner will appear on the profile if you added a Membership or Agreement. These remind you to finish setting them up, such as by setting up Autopay.
