Student User Account on the Student Profile
The new Student Profile offers an easier way to create a student user account. It also allows you to more easily choose any restrictions on the student user account, if needed.
The User Account section of the student profile:
You can find the User Account section at the bottom of the left panel on the new Student Profile. (You will need to scroll down to see this section.)
The User Account section shows the username, email, and password (shown as asterisks) if the student has an active user account.
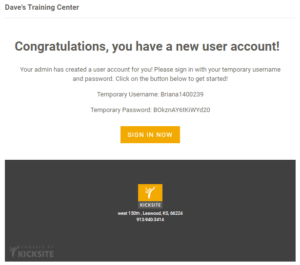
If the student’s user account has not yet been created, you can create the account and invite the student to log into their user account by clicking the Create User Account button at the bottom. Kicksite will send an email to the student with the information and a temporary password to log into their new student user account. See the image below.
When the student logs in, they can change their username and password by clicking My Info. (Remember, usernames and passwords are case and space sensitive, so they will need to type the username and password exactly.) Click here for the overview of the updated Member Portal for students.
Also, we recommend bookmarking the login page: kicksite.net. (Students, employees, and admins can also log in from the school’s unique URL, which will be https://yourschoolname.kicksite.net, but yourschoolname will be the unique subdomain for your school’s Kicksite account.)
Additionally, you can review and update restr
Important note for family members: Restrictions will ONLY display for a family member that the user account was set up for, and will NOT display inside the student profiles for other members of that family. You can navigate to the Family section of the student profile to find the list of family members and click on the family member with the user account icon to find the list of restrictions.