How to Use Uplifted Landing Pages
Landing Pages are like mini-websites where prospects can sign up for classes and memberships, purchase merchandise, sign waivers, and more. They’re highly customizable and can be used for many scenarios, like summer camps, Black Friday sales, and even general registration.
Before you create a Landing Page
Make sure you have the following set up in Kicksite:
- A Lead Capture Form to collect contact information
- At least one Membership or Trial Membership, with a Program connected
- A liability Agreement Template
- A Recurring Class (if you want Class sign up)
- Inventory items and tax rates (if you’re selling merchandise)
- A billing integration (if you want to collect payments through Kicksite)
How to Create a Landing Page
- Click the Marketing Tools section on the sidebar (represented by a target), then click Landing Pages.
- Click the Add New button in the upper right.
- Enter a title for the Landing Page. This is visible to the people filling it out.
- (Optional) Change Advanced Settings.
- (Optional) Set up a custom confirmation email and/or custom confirmation page.
- You can turn off the default confirmation email (a summary of the filled out Landing Page).
- If both the custom confirmation and default confirmation emails are on, two emails are sent. If you have a Message Flow set up as well, the prospect may receive up to three emails. We recommend limiting it to one or two emails so they don’t feel overwhelmed.
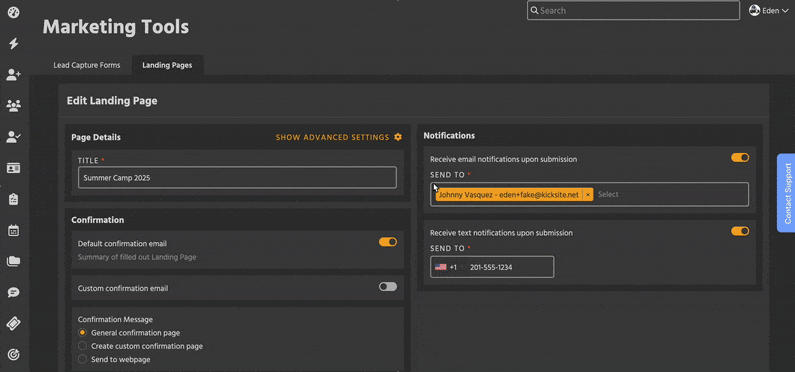
- (Optional) Turn on email and/or text notifications for submissions.
- You can select multiple admin or employee email addresses.
- Select what Page Content you want.
- Header – Displays text at the top of the Lead Capture Form.
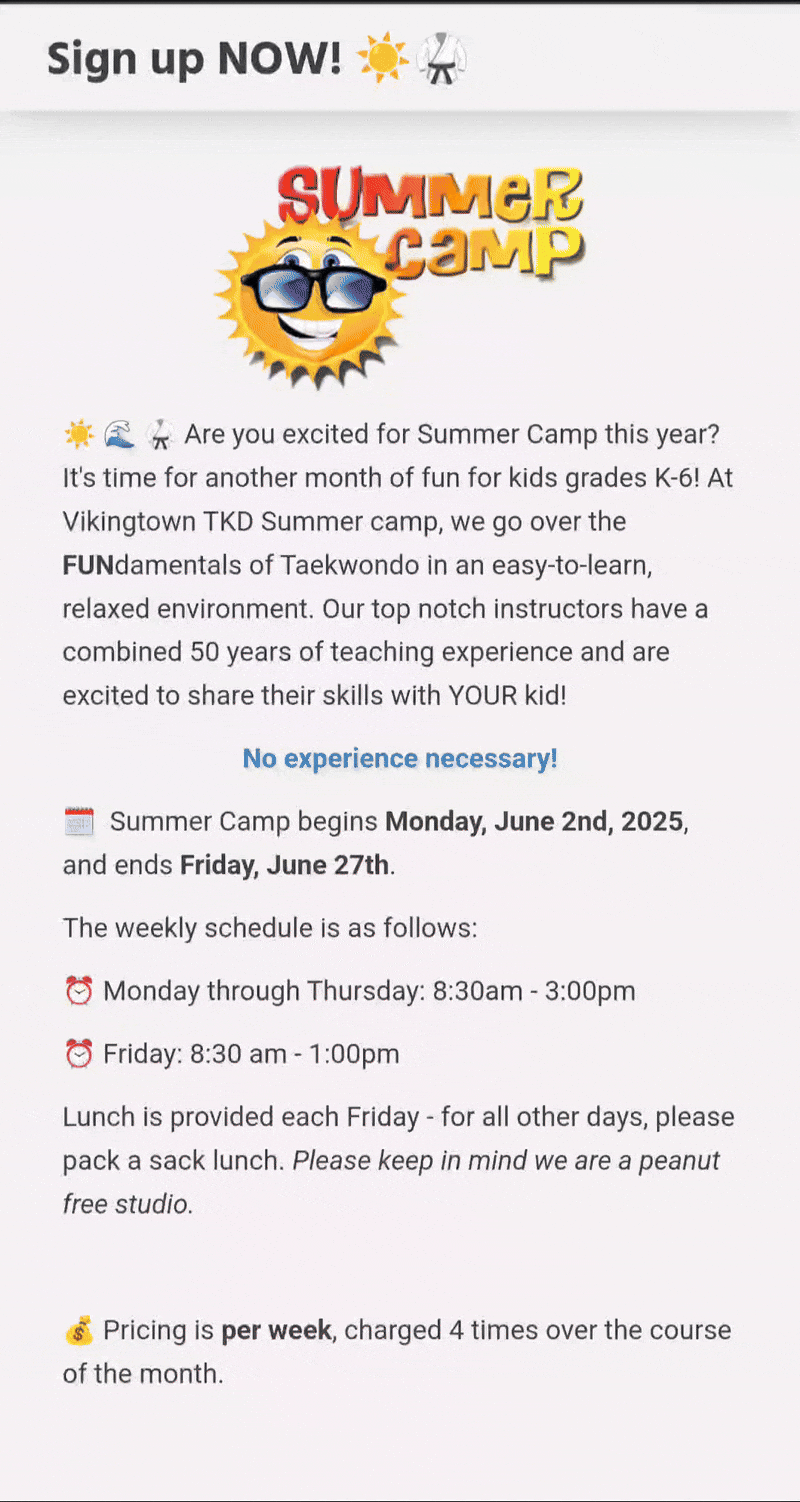
- Description – A text field with high customizability. You can also add images and videos.
- Participant and Guardian Lead Capture Forms.
- Sign Up – Select at least one Membership or Trial Membership and the Programs you want people to be able to select for that Membership.
- If you want to offer Class Registration, the selected Program(s) need a Recurring Class.
- Agreements – Select an Agreement Template. When signing, participants fill out token fields.
- Inventory Items – Select individual items or entire categories with the checkboxes.
- You can require customers to purchase something from a category by turning Purchase Required on. If multiple categories are required, customers will have to buy something from at least one of those categories.
- Click the Preview button to view an interactive version of the Landing Page. The Landing Page is not created until you click Add.
- Click Add to finish.
Advanced Settings
Click Show Advanced Settings for these options:
- Customize colors shown on the Landing Page.
- To enter a hex code, click on the color label.
- The eyedropper tool can color pick from somewhere else on your screen.
- The “shadow” color affects small details like divider lines, section borders, the box behind inventory category titles (if enabled), and the box behind the SMS Opt-In message.
- To create Contact profiles instead of Prospects or Students, turn off Create Participant Profile on Submission.
- To use a source other than the Landing Page’s name, turn on Use Custom Source.
Lead Capture Forms on Landing Pages
You can select two Lead Capture Forms for a Landing Page: a participant (Student or Prospect) one, and a guardian one. Using both forms can be useful – you might want an adult’s phone number, but not a child’s.
- If you don’t select a Guardian lead capture form, everyone will fill out the same fields.
- If the person signing up is 18 or older, they will have all the participant fields, plus the contact information required of a guardian (they count as their own guardian).
Landing Page submissions will create a Student (or Prospect, if they sign up for a trial membership) profile. If a Guardian is entered as well, their information will go in the Student or Prospect’s Guardian 1 field.
When Family Sign-Ups are released in the future, you will be able to create Contact profiles for non-Students. Learn more about Families here.
Landing Page Submissions
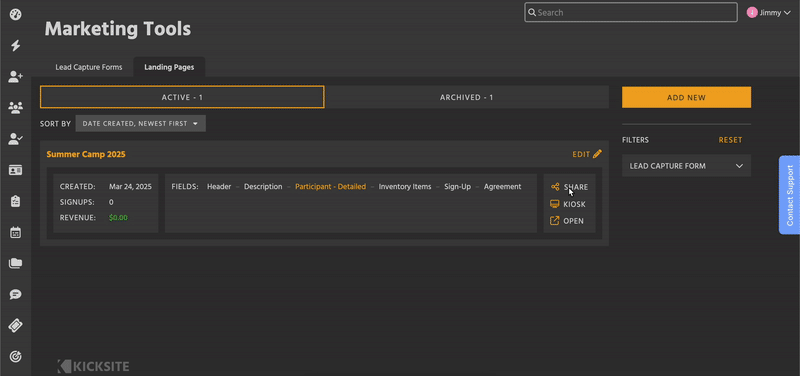
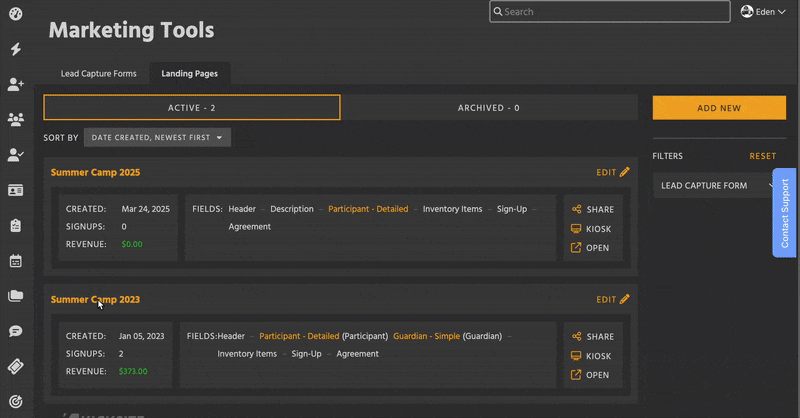
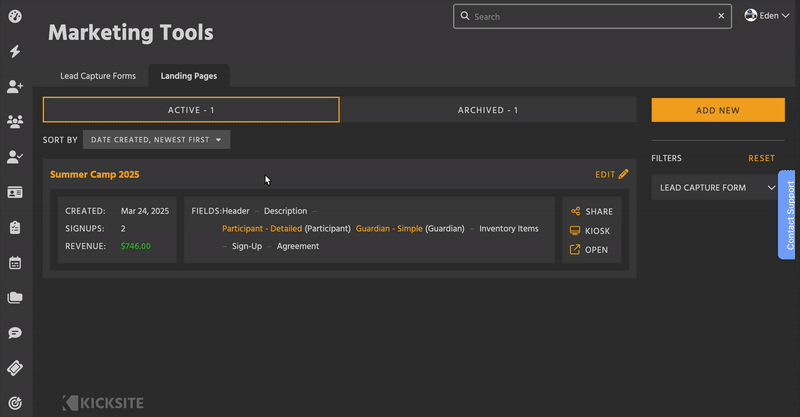
To view a list of all submissions on a certain Landing Page, click on its title.This opens the details page. The details page also has a list of all included fields, basic statistics about the Landing Page, and the option to edit or duplicate a Landing Page.
The submissions can be sorted by date, either newest first or oldest first. Click on a Prospect or Student’s name to view their profile.
Sharing Landing Pages
Landing Pages can be shared many different ways. On the details page or Landing Pages list, click Share to open the following options:
- Sending a link in an email or text, or posting it in a social media post, is simple and effective.
- QR codes can be printed off and hung up as signs, turned into stickers, or posted online.
- The embed code option allows you to put a Landing Page inside an existing website.
Finally, Kiosk Mode will restart a Landing Page after completion, so customers can fill it out on a tablet or device in your studio.
Archiving Landing Pages
You can archive a Landing Page when you no longer want to accept submissions for a Landing Page. Like other things Archived in Kicksite, this keeps a record of the Landing Page and all its submissions. You can still view it in the Archived tab of the Lead Capture Form list.
If someone tries to fill out an Archived Landing Page, they will see a page telling them it is no longer accepting submissions.
To Archive a Landing Page, follow these steps:
- Click the Marketing Tools section on the sidebar (represented by a target), then click Landing Pages.
- Find the Page you want to archive, then click on its title. This takes you to its Details page.
- Next to the title is the Active status bubble. Click on the bubble, then select Archived from the dropdown.
- In the popup window, confirm you want to Archive the Landing Page.
To reactivate a Landing Page, turn the Archived status bubble to Active. Customers can then access it and fill it out.
How to Export Landing Page Submissions
If you want a list of all the submissions to a Landing Page, go to its details page, then click Export.
The submissions will be combined in a .csv file, which you can open in Excel, Numbers, or Google Sheets.
These lists are helpful for creating rosters, preparing inventory items for pickup, or simply having a reference of who signed up.
Frequently Asked Questions
Why would I duplicate a Landing Page?
To streamline the process of creating multiple Landing Pages, you can duplicate an existing one and tweak small details, instead of starting from scratch. This is especially useful if you have many customizations or liked the set up of a particular page.
For example, to save time you might duplicate last year’s Black Friday Landing Page and change the dates and inventory items to reflect your current promotion.
What if I want to stop receiving submissions on a Landing Page?
Archive a Landing Page to immediately stop accepting submissions. You can reactivate archived Landing Pages at any time.