How to Use the Dashboard
When you first log in to your account, you’ll see the Kicksite Dashboard. On the Dashboard, you can find lots of valuable information about your members and your school. Modules can be rearranged or hidden to best fit your school’s needs.
Read on for an overview of the Dashboard!
Kicksite Dashboard modules
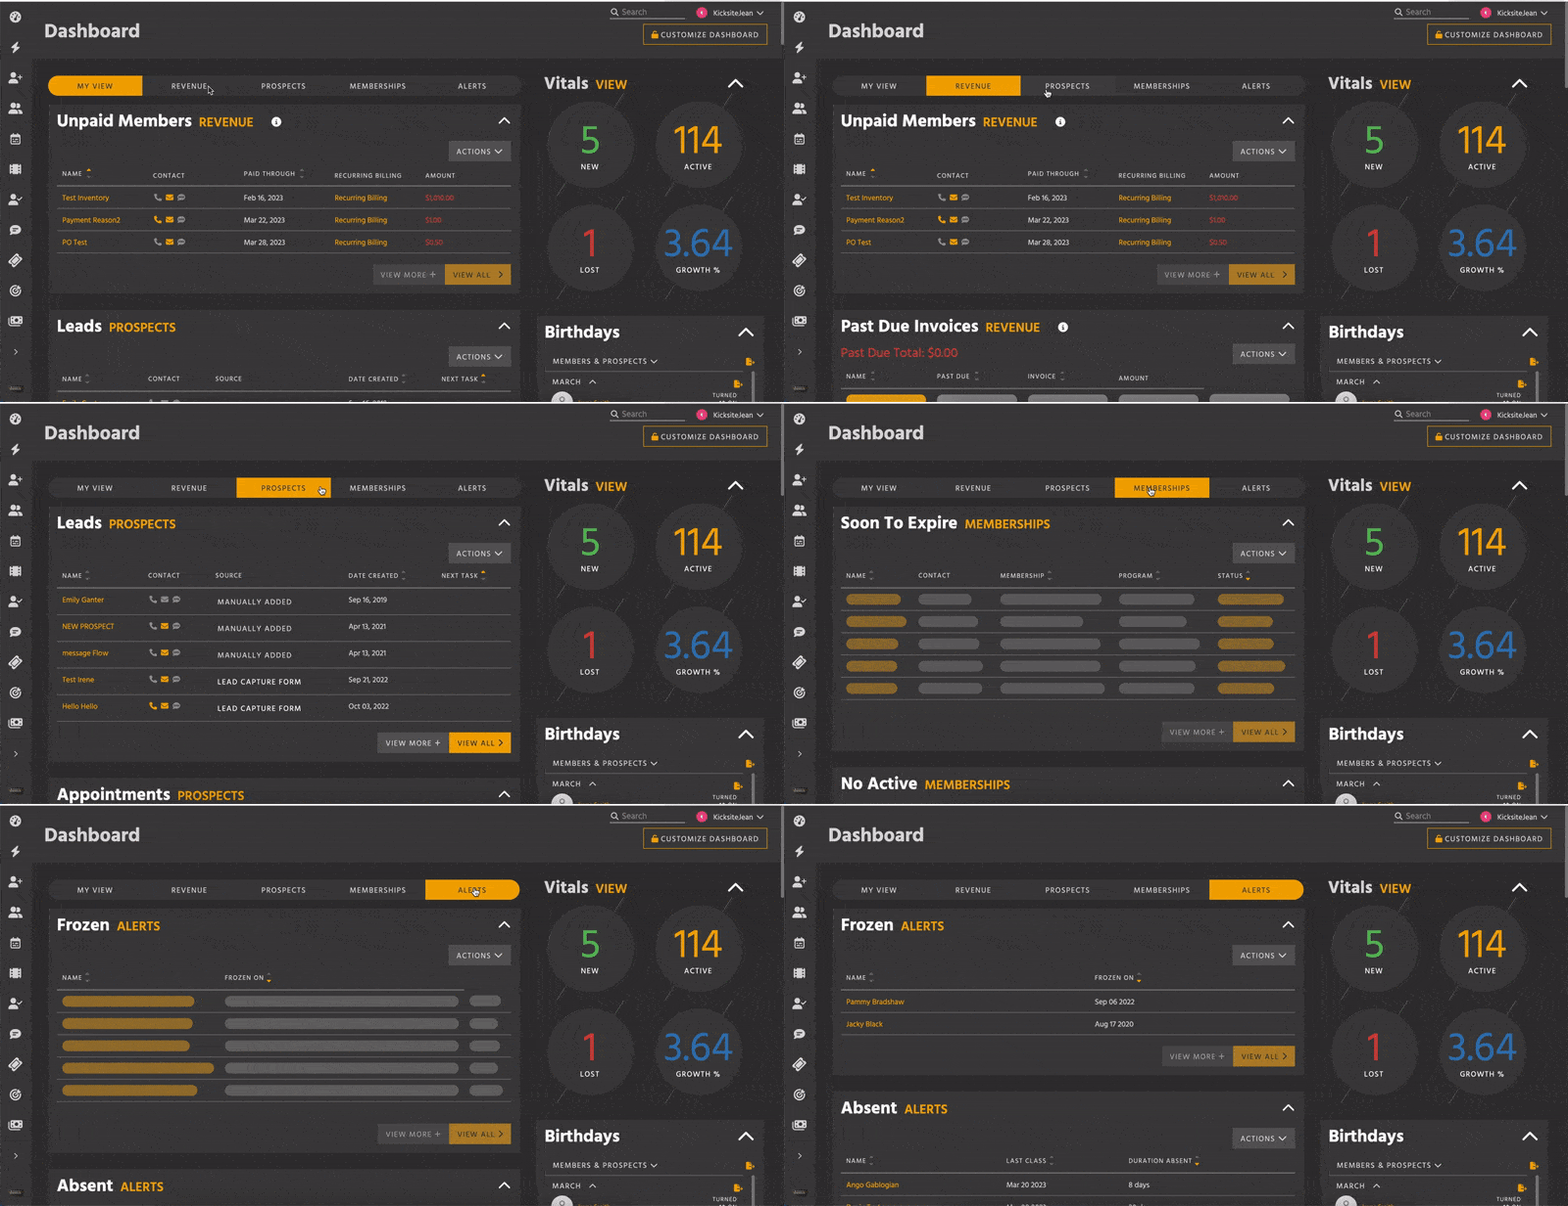
The Dashboard provides tabs and modules to show important information in an easy to read manner.
At the top of the Dashboard, you can click a tab to see modules specific to that category. For example, click Prospects to see the modules for prospects. “My View” will show your custom order.


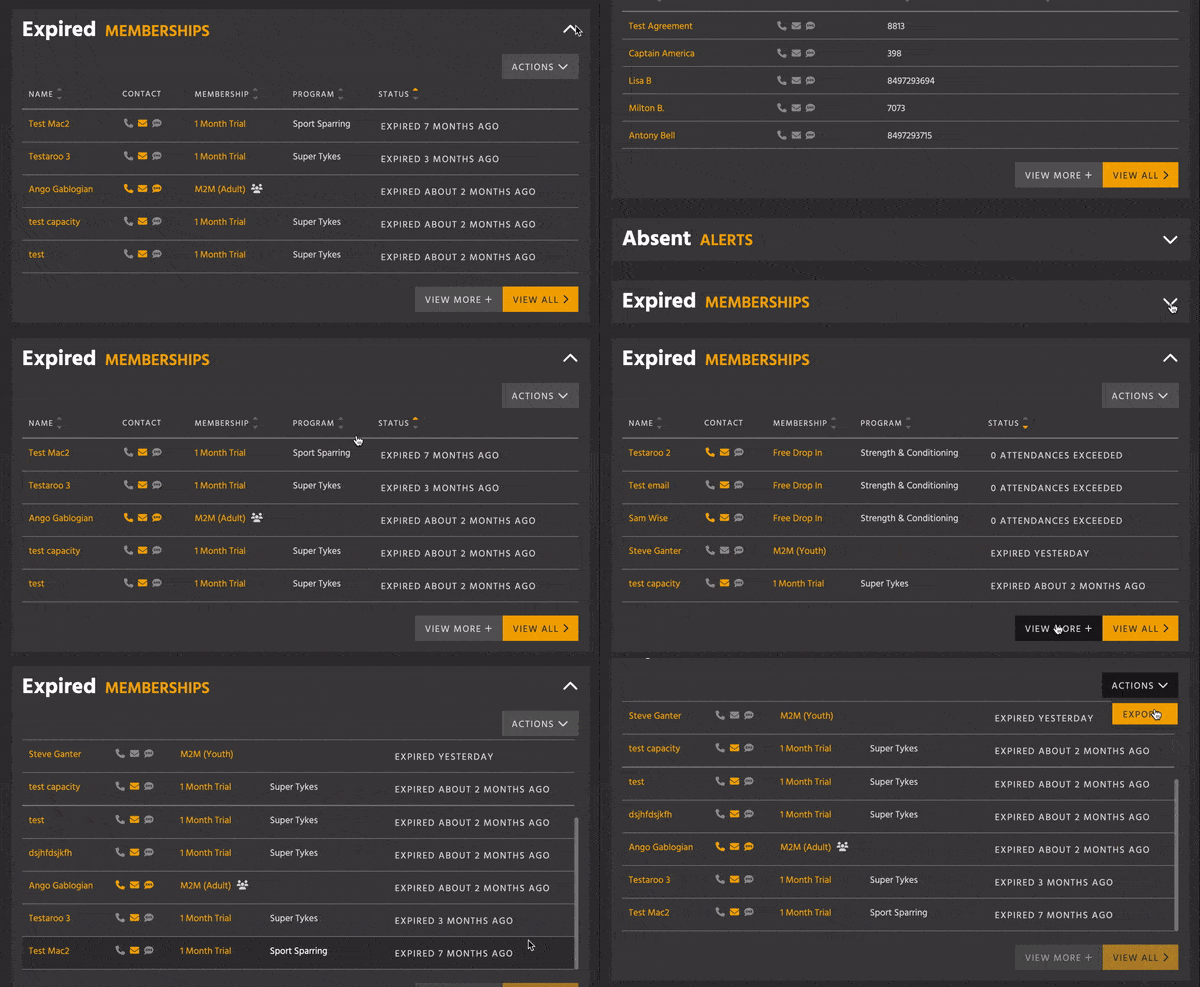
To collapse a module, click the ^ in the upper-right corner of the module. Click the v to expand a collapsed module.
If you see up and down arrows in the column headings (called carets), you can click to sort that column’s data.
If a module has more data, you can click the View More+ or View All buttons. Some modules will have an Actions menu; click the Actions and then Export to download a .csv of the data from that module.

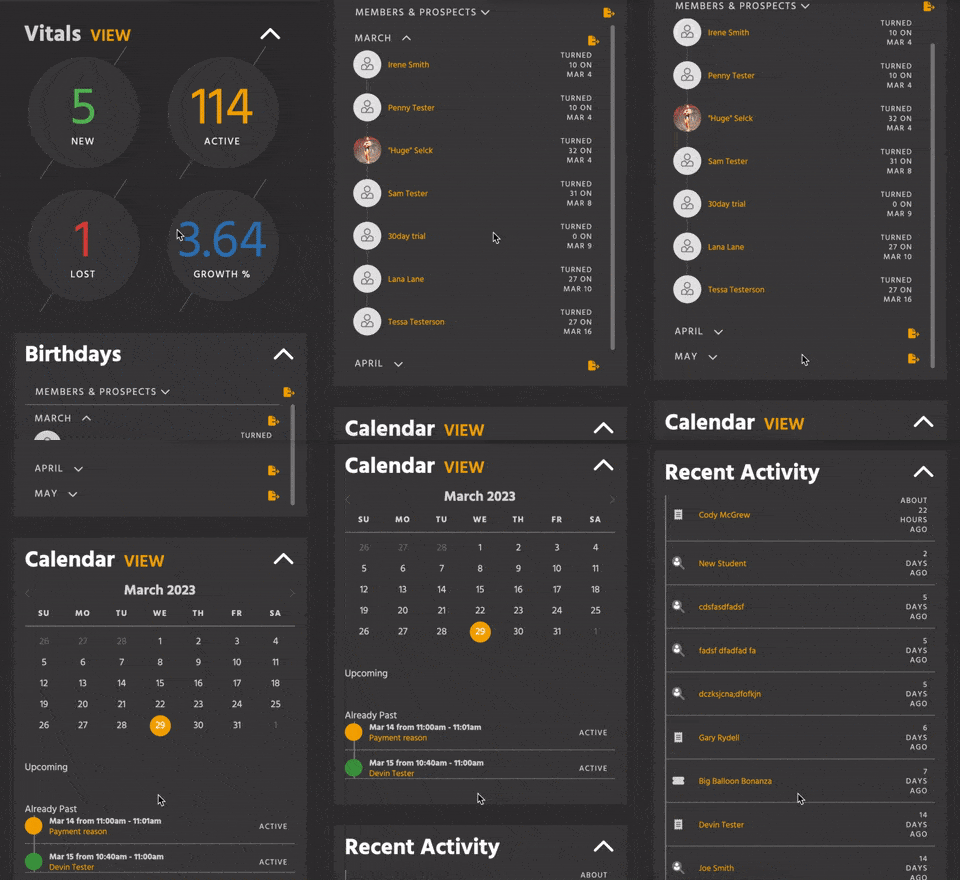
At the top right of the Kicksite Dashboard are the Vitals. If you click View, you will go to reports for more in-depth information. Click the New, Active, or Lost number to go the the Student List with only those students shown.
Further down on the right side of the Dashboard is the Birthdays module, which shows people with birthdays in the current and upcoming months.
The Calendar module shows appointments and tasks so you can quickly see current or upcoming appointments, as well as classes and events.
The Recent Activity module on the right side shows recent changes within your Kicksite account, such as adding a Student, paying an Invoice, or changing the status of a Prospect.