How to Set Testing Eligibility Requirements
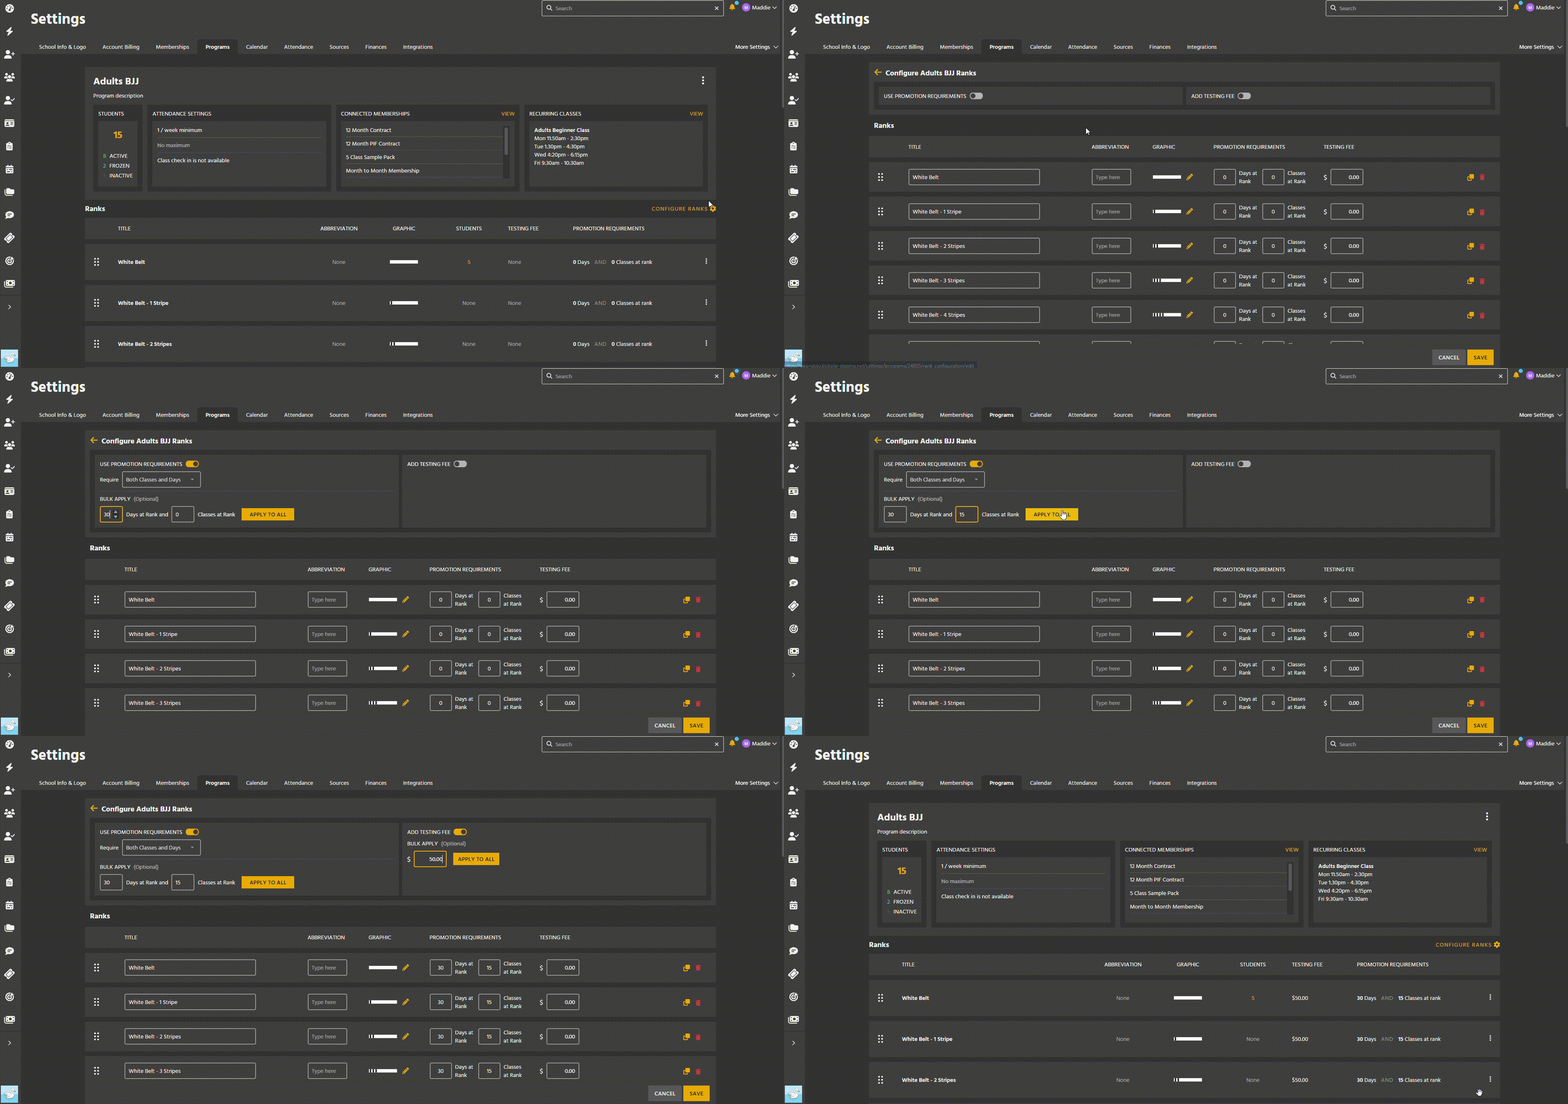
Testing Eligibility is where you record what a student has to do before they can test for their next rank: a number of classes, a length of time, and a fee.
Once it’s set, Kicksite tracks progress automatically. The Eligible to Promote list turns green when someone meets the requirement, the dials on their profile fill up, and belt testing events pull the right fee.
Before you start
Set up your programs and ranks first. Requirements attach to ranks, so the ranks have to exist.
Setting requirements
- Click Quick Links in the left panel, then Settings, then Testing Eligibility.
- Choose which ranks to update:
- Click a program name to expand its ranks.
- Tick the box at the top, beside Testing Fee, to select every rank in that program.
- Or tick individual rank rows.
- Enter any or all of:
- Classes Attended at Rank — minimum classes at the current rank before testing for the next.
- Days at Rank — minimum days at the current rank. Six months is 180.
- Testing Fee — what they pay to test.
- Click Update Testing Eligibility.
Repeat for ranks that need different numbers.
Leave anything blank that doesn’t apply. Plenty of programs — yoga, conditioning, cardio kickboxing — have no ranks and no fees, and that’s a perfectly valid setup.
Deciding what to enter
Requirements usually rise through a curriculum. Junior belts might sit at 20 classes and 60 days; senior ranks at 60 classes and 365 days. Set the lower ranks first and work up — most schools find their existing promotion rhythm is already close to a number, they’ve just never written it down.
You can set the same requirement everywhere by selecting every rank in a program at once, then adjust individual ranks afterwards.
Showing or hiding progress from students
By default students see their Classes at Rank and Days at Rank at the kiosk and in the Member Portal. Some schools want that visible as motivation; others find it turns into “am I ready yet” every week.
- Click your username, then Settings, then the Attendance tab.
- Toggle Classes At Rank and Days At Rank off to hide them.
- Click Save.
Admins and employees always see the numbers on the student profile and the Eligible to Promote list.
What this feeds
- Eligible to Promote — students who’ve met the requirement show in green.
- The student profile — two dials on the Promotions module fill as they progress. No requirement set, and the dials stay empty but still show the counts.
- Belt testing events — fees pull from here, and the candidate list can filter by who’s eligible on attendance or on days.
Troubleshooting
The fee is wrong on a testing event. It comes from the rank the student currently holds. Check the row you filled in.
Nobody shows as eligible. Requirements may be higher than anyone has reached, or attendance isn’t being logged. Check the Attendance Log first.
Days at Rank looks wrong. It counts from the last promotion date. If a promotion was recorded on the wrong date, fix it on the student’s Promotions module.
Classes at Rank reset unexpectedly. It counts classes since the current rank was awarded. A promotion resets it.
Limitations
- Requirements are per rank, per program.
- Meeting them doesn’t promote anyone automatically.
- Attendances that came from a trial membership don’t count towards Classes at Rank.