Kicksite Knowledge Base
Prospects List
The Prospects List shows the prospects in your Kicksite account, enabling you to easily see the prospect’s status, any notes, and to contact them.
Find out more about gathering leads with Lead Capture Forms and Landing Pages.
The Prospects List
To go to the Prospects list, click Profiles in the left panel, and then click Prospects.
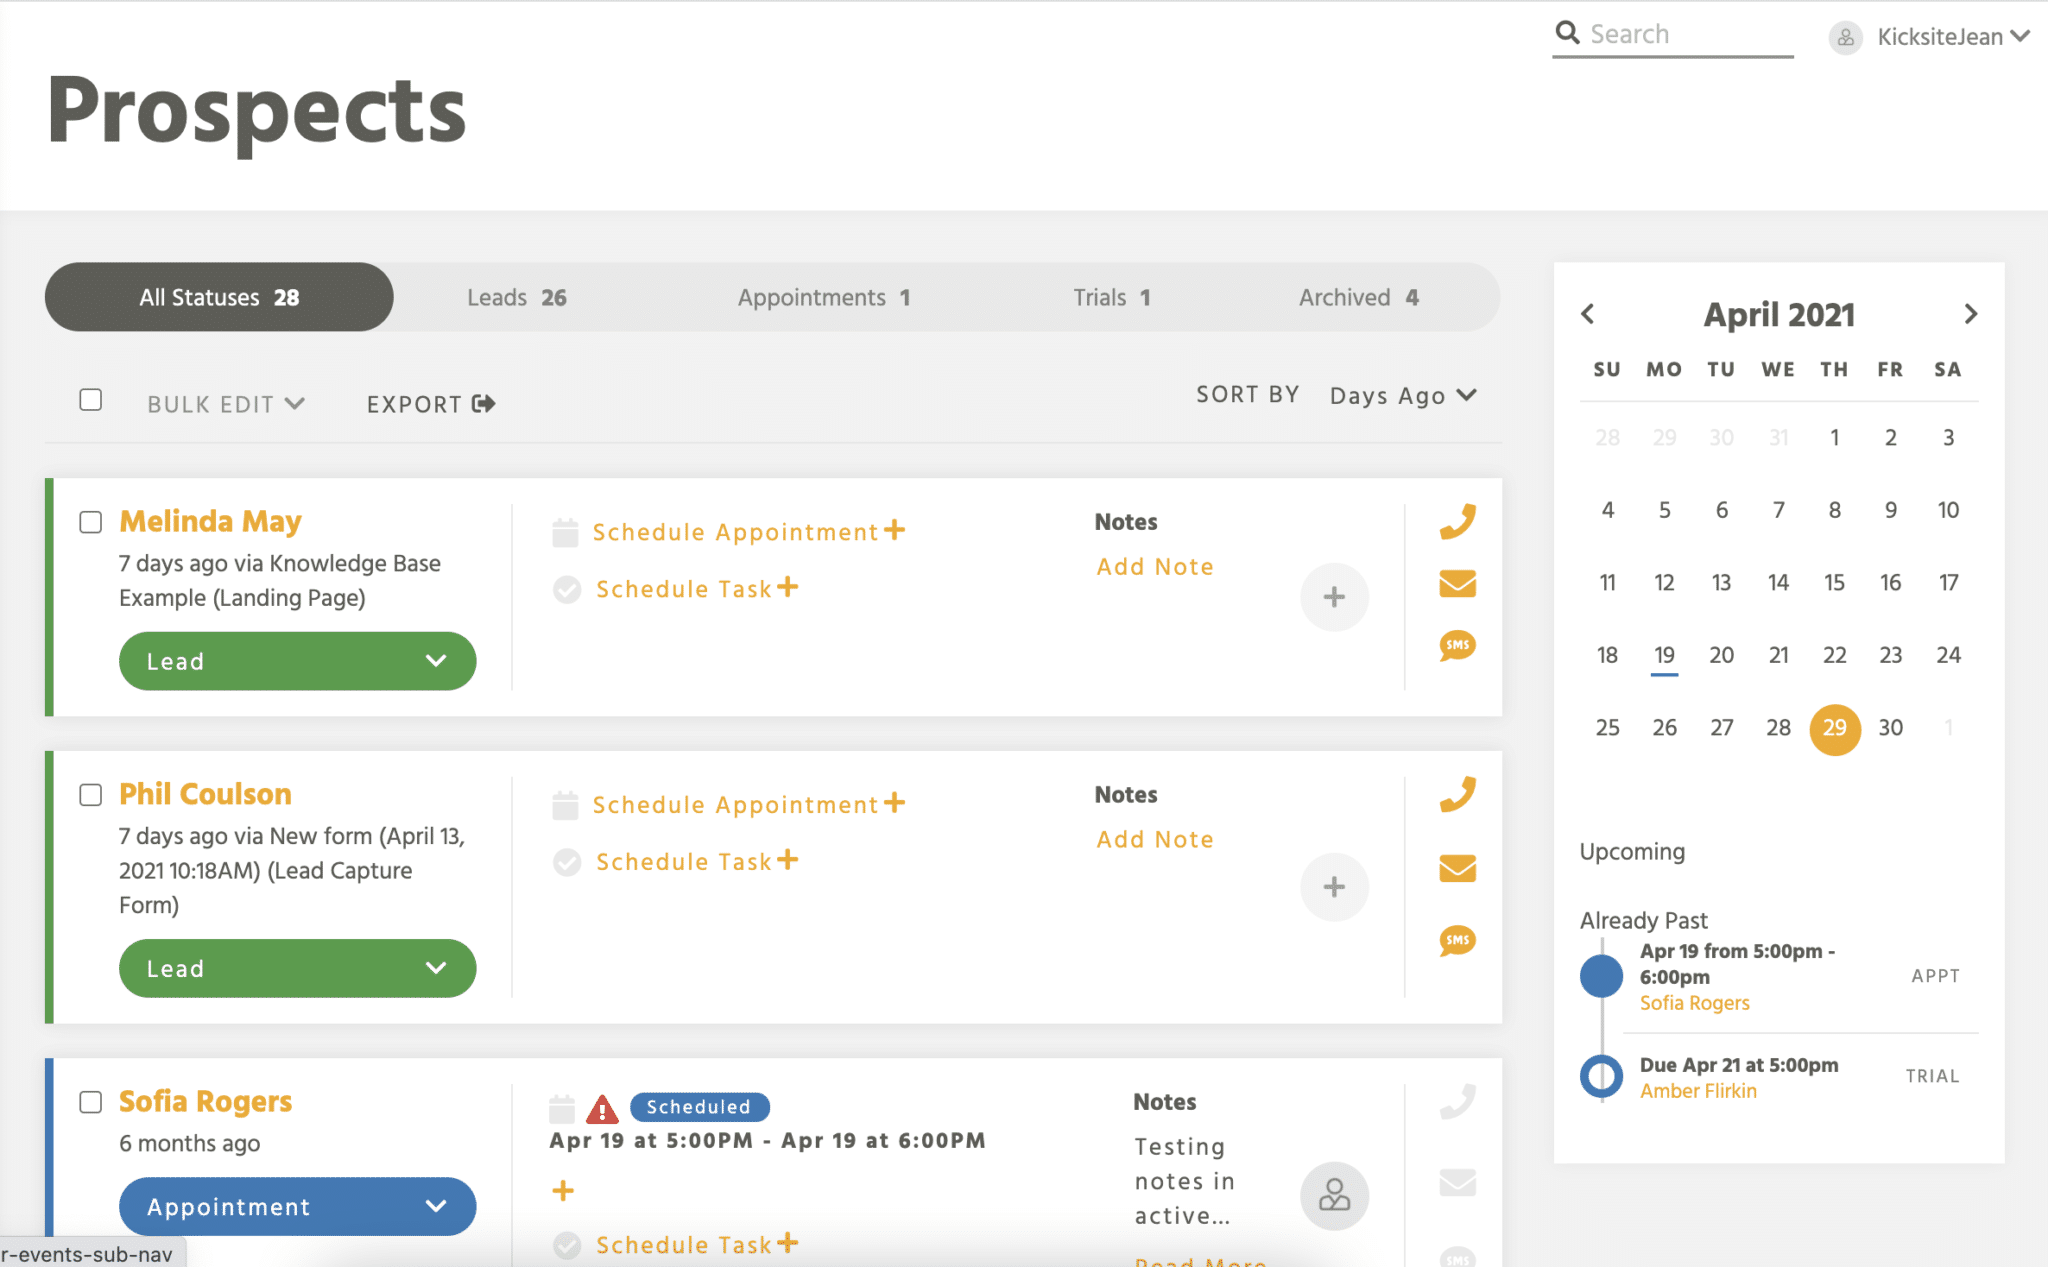
In the top section of the Prospects List, you see:
- Status bar: At the top of the Prospects List, you see the status bar. Click one of the statuses to see only prospects with that status. You can view All Statuses, Leads, Appointments, Trials, and Archived. You can also see how many prospects have a particular status.
- Bulk Edit: You can use the Bulk Edit drop-down list to quickly change the status for multiple prospects. Here’s how to use Bulk Edit.
- Export: Click the Export button to export a .csv file with the currently viewed prospects. (Click All Statuses and then Export if you want to export all prospects.)
- Sort By: Select an option from the Sort By list to rearrange the current order of prospects in the list. By default, the list shows the newest prospects at the top. You can sort by First Name, Last Name, Days Ago, Source, Appointments, Overdue, No Show, or Assigned To.
On the right side of the Prospects List, you can see a calendar and list of appointments and tasks:
- Click the arrows beside the month and year to see the previous and next month.
- Click a day on the calendar to see the appointments and tasks for that day.
On the card for each prospect, you can:

- Click the prospect’s name to view the Prospect Profile page.
- Update the status by clicking the status drop-down list and selecting a new status. You can select Lead, Appointment, Trial, Archived, or Student. Here’s how to convert a prospect to a student.
- Schedule an appointment or task. Here’s how to add an appointment or task for a prospect.
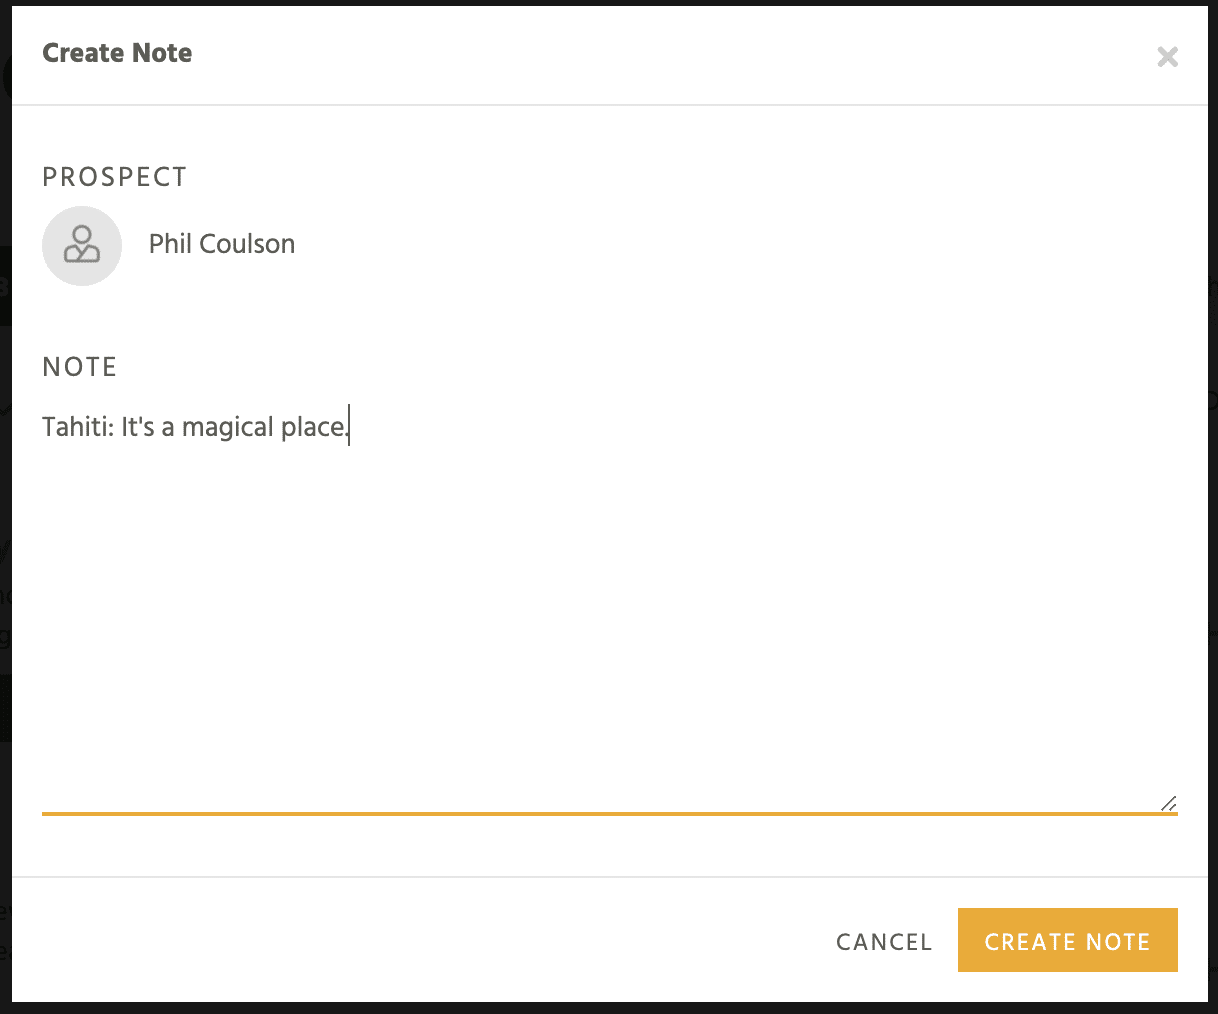
- Add a note by clicking the Add Note link, typing the note, and clicking the Create Note button. You can delete, edit, or add to existing notes by clicking the note text. In the window that appears, make any changes needed, and then click the Update Note button, or click the Delete button to remove the notes.
- Click the + (plus) button to assign an employee to the prospect.
- Contact the prospect using the Phone, Email, or SMS buttons. Here’s how to contact a prospect using a mobile phone.