Kicksite Knowledge Base
How to Use One-Time Charge
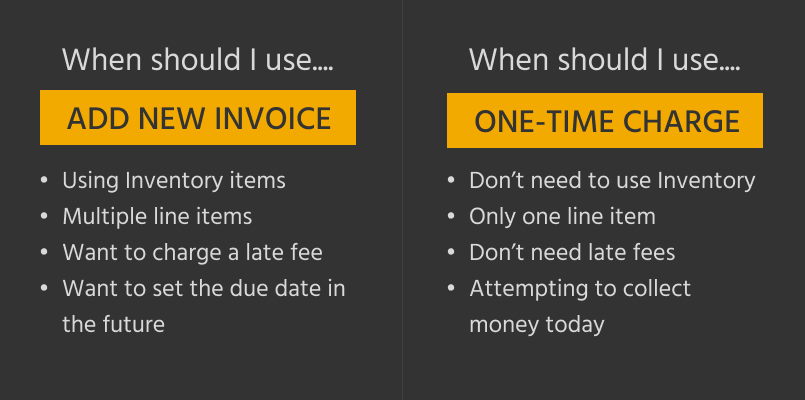
When you need to collect money but don’t require a full invoice, you can use Kicksite’s One-Time Charge feature.
Creating a One-Time Charge:
- First, open the One-Time Charge window. There are three points of entry:
- In the Finances section of Kicksite, go to the Payments tab, then click the One-Time Charge button. Select the Student, Prospect, or Family you want to charge.
- Go to the Finances module of a Student’s profile, then select One-Time Charge from the Add New dropdown menu.
- Search Quick Links (which can also be opened using the
/key on your keyboard) for One-Time Charge.
- Choose a Revenue Stream.
- You can add or change Revenue Streams in Finances Settings.
- Enter an amount.
- (Optional) Set up tax for this Charge.
- Your retail invoice tax rate is used by default. You can change your tax settings in Finances Settings.
- (Optional) Add a description.
- If you add a description, it’s used as the line item title. Otherwise, the line item is titled as the Revenue Stream.
- Click Pay Now and review the summary. Then, either:
- Select a Payment Method and click Pay Now again to finish.
- Click Pay Later if you’d rather wait to collect, or don’t have a Payment Method on file.
- Click Void to discard this Charge if you made a mistake.
Good to Know
- Using One-Time Charge creates an invoice with the “MISC” prefix.
- The fastest way to find a One-Time Charge invoice is to check the attached person or family’s profile, but they also appear in the Invoices tab of Finances.
- If you need to charge a late fee, set the due date in the future, have multiple line items, or have different tax rates in the same invoice, use the Add New Invoice page instead.
To learn more about invoices and the critical role they play in managing your business’ finances, click here.