How to Void or Credit an Invoice
To fix mistakes and keep your finances tidy, you can void or credit invoices in Kicksite. If you made an error when creating an invoice, but the student has not yet paid the invoice, you can void the invoice and start over. Credits are used to waive part of an invoice.
How to void an invoice
You can only void an invoice if no payment has been made. For example, if you added an invoice but entered an incorrect inventory item, you can void it and create a new one.
1. To void an invoice, open the invoice. (If you just added it, click the View Now button on the green notification box.) If you created the invoice previously, you can find it in two places:

- Click the Finances icon in the left panel and check the Past Due and Open tabs.
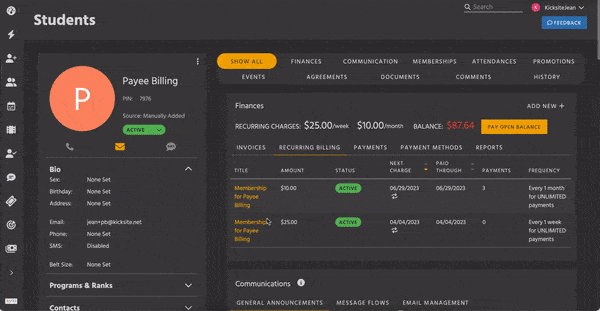
- Go to the student’s or prospect’s profile by typing their name in the Search field, and click the correct result. In the Finances module, click the Invoices tab. If they have a lot of invoices, you can click the View More or View All button to find the invoice that needs voided.
2. Click the invoice ID link to open the invoice.
3. Click the Void button.
4. In the Reason for Void field, you must type an explanation for why you’re voiding the invoice.
5. Click the Confirm button.
How to credit an invoice
Crediting is now part of the Adjust Balance workflow.
1. To credit an invoice, open the invoice. (If you just added it, click the View Now button on the green notification box.) If you created the invoice previously, you can find it in two places:

- Click the Finances icon in the left panel and check the Past Due and Open tabs.
- Go to the student’s or prospect’s profile by typing their name in the Search field, and click the correct result. In the Finances module, click the Invoices tab. If they have a lot of invoices, you can click the View More or View All button to find the invoice that needs credited.
2. Click the invoice ID link to open the invoice.
3. Click the Adjust Balance button.
4. Select Reduce Balance and enter the amount you’re crediting. The new balance will be listed at the bottom of the window.
5. Add a reason for adjusting the balance.
6. Click the Adjust button.
How to credit a future (unpaid) recurring billing invoice
1. To credit (waive) one or more future recurring billing payments, find the recurring billing:
- Click the Finances icon in the left panel and check the Recurring Billings tab.
- Go to the student’s profile by typing their name in the Search field, and click the correct result. In the Finances module, click the Recurring Billings tab.
2. Click the invoice ID link to open the recurring billing.
3. Click the Pre-Generate Next Invoice+ link. You must credit invoices from oldest to newest. Click the invoice number for the next payment (the top payment, if you have generated multiple invoices).
4. Click the Adjust Balance button.
5. Select Reduce Balance and enter the amount you’re crediting. The new balance will be listed at the bottom of the window.
6. Add a reason for adjusting the balance.
7. Click the Adjust button.