Facebook Remarketing 101: How To Target Leads That Won't Return Your Calls
Following up with prospects can take a lot of time and energy out of your day. A lead fills out the form on your website, you leave a voicemail, but then you never hear from them. Unfortunately, this happens all too often for many gym owners. So we put together a plan for you to get those leads back!
Facebook Remarketing
Remarketing means serving an ad on Facebook or Instagram to users that were recently on your website or filled out a form to learn more. Setting up a Facebook remarketing campaign is an easy way to connect and advertise to leads who were previously interested in your classes, but have since gone quiet.
Below are the essential steps to setting up your Facebook remarketing campaign.
Upload Your Prospective Emails To Facebook
In order to remarket to your prospective leads, you will need to export your email list from your membership management software. Make sure to export leads that have not already become students, because you don’t need to spend money advertising to current students. We recommend exporting your leads list monthly or quarterly, as time allows. Once you export the CSV, you will need to upload it to Facebook in the Audience section.
- Log into your Facebook Business Manager by going to business.facebook.com. If you do not have a business manager account, you will need to create one.
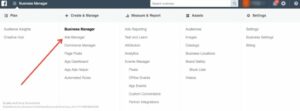
- Click on the “Business Manager” tool in the top left corner of your profile.

3. Under your Business Manager click on “Ads Manager”
4. Select the “Ads Manager” in the top left corner and then select “Audiences.”

5. Click the “Create Audiences” dropdown menu and select “Custom Audiences.”
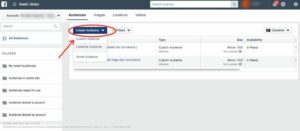
6. Click Customer List.
7. Select “Use a file that includes customer lifetime value (LTV).
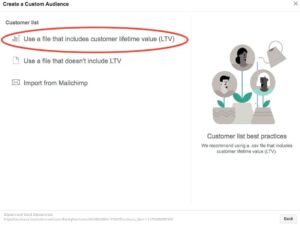
8. Customize your customer data, upload your file, and name your audience. We would suggest naming it “Remarketing Prospect Email List”.
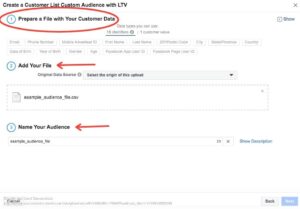
9. Select the appropriate original data source for your file, then click next.
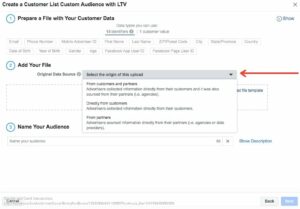
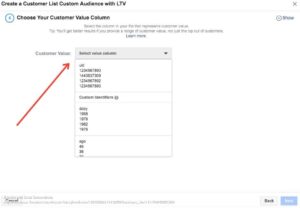
10. Select the appropriate customer values for your audience.
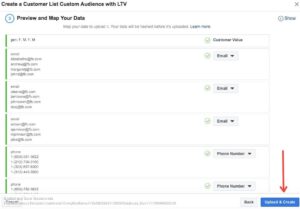
11. Review and upload.
Create Your Remarketing Ad Campaign
Once you have uploaded your customer audience file, you can create an ad that is targeted specifically to them. The goal is to remind these leads that they once showed interest in your gym, and entice them with a special promotion to bring them in for a free trial or to purchase a membership.
- Begin with clicking on the Business Manager in the top left corner and then selecting the “Ads Manager.”
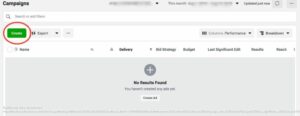
2. Ensure that you are in the correct account and for the correct time period, then select “Create.”
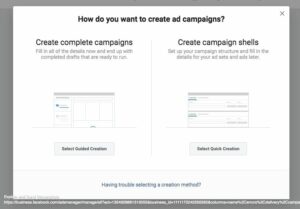
3. Facebook Business Manager will prompt you to select a “Guided Creation” or “Quick Creation”. For the purpose of these instructions we chose the “Guided Creation.”
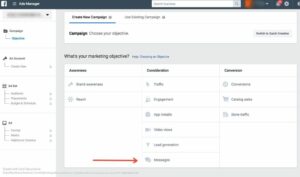
4. Select “Messages” under the Consideration objective. You can also choose a different type of consideration like traffic or engagement. The purpose of choosing “Messages” is to get them to message you back through Facebook about attending a class time.
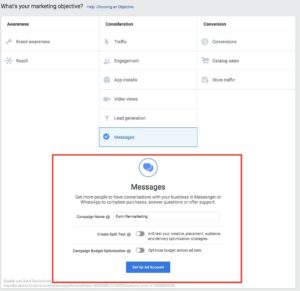
5. Under “Messages” you will need to name your campaign and adjust additional settings below to your needs. When you are finished click “Set Up Ad Account.”
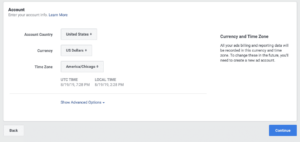
6. Ensure that Account settings fit your country, currency, and time zone.
7. Use Saved Audience, then use the list you just created in the audience section of Facebook Business Manager.
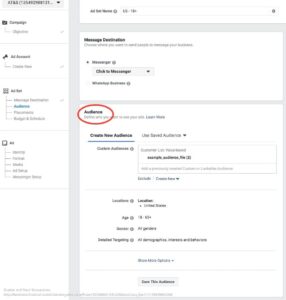
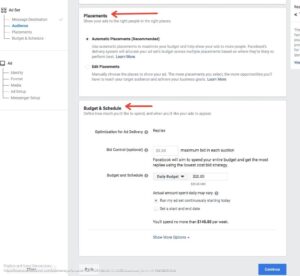
8. Set your placement preferences and adjust the budget and schedule settings to fit your needs. Facebook recommends using Automatic Placements to maximize your budget and place ads where Facebook thinks they will succeed the most. In budget, you have the option to select a “daily budget” or a “lifetime budget”. To start, we would recommend a budget of around $5 per day.
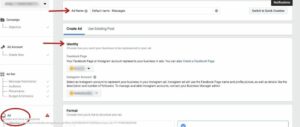
9. Once you are in the Ad settings, you will be able to edit the Identity for your Ad and link the Ad to your account’s social media accounts.
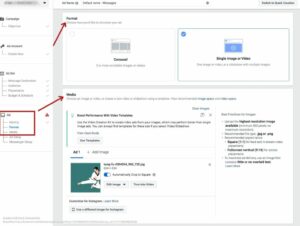
10. After that, in the format and media sections you can choose between a single or carousel ad and upload the photo that you wish to use for your ad.
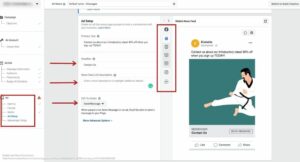
11. In the Ad Set Up stage you are able to create your headline, description, call to action, and more. Additionally, between the setup and preview on the right-hand side, you can click to view the ad on different devices and pages.
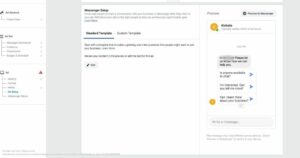
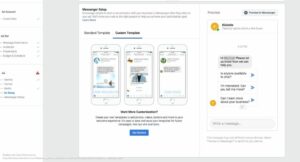
12. Lastly, in the Messenger setup, you are able to customize what happens when users click on the “Send Message” button on your ad. There are options for both standard templates and custom templates as shown below.
13. After the creation of your ad, click “confirm” and you will be processed for approval for your ad!
In conclusion, we recommend letting the ad run continuously, but be sure to review the success of the ad and its performance, and make changes to the copy or image accordingly.
Let’s Do This!
With Facebook remarketing, you will be able to bring your leads back without having to constantly call or text them to follow up. When leads go quiet, meeting them on Facebook or Instagram with a remarketing ad is the perfect way to remind them why they showed interest in your gym in the first place. Remarketing your gym to them with a special promotion will be just what you need to finally close the deal and add new members.
If you have any questions about how to set up a Facebook remarketing campaign, feel free to reach out to our team! To learn more about our membership management software, visit our website.
