For Students – Member Portal Overview
Your school or gym uses Kicksite, a software to manage memberships and student information. The Member Portal is your place to see announcements, sign up for classes, access information, and pay bills.
How do I access the Member Portal?
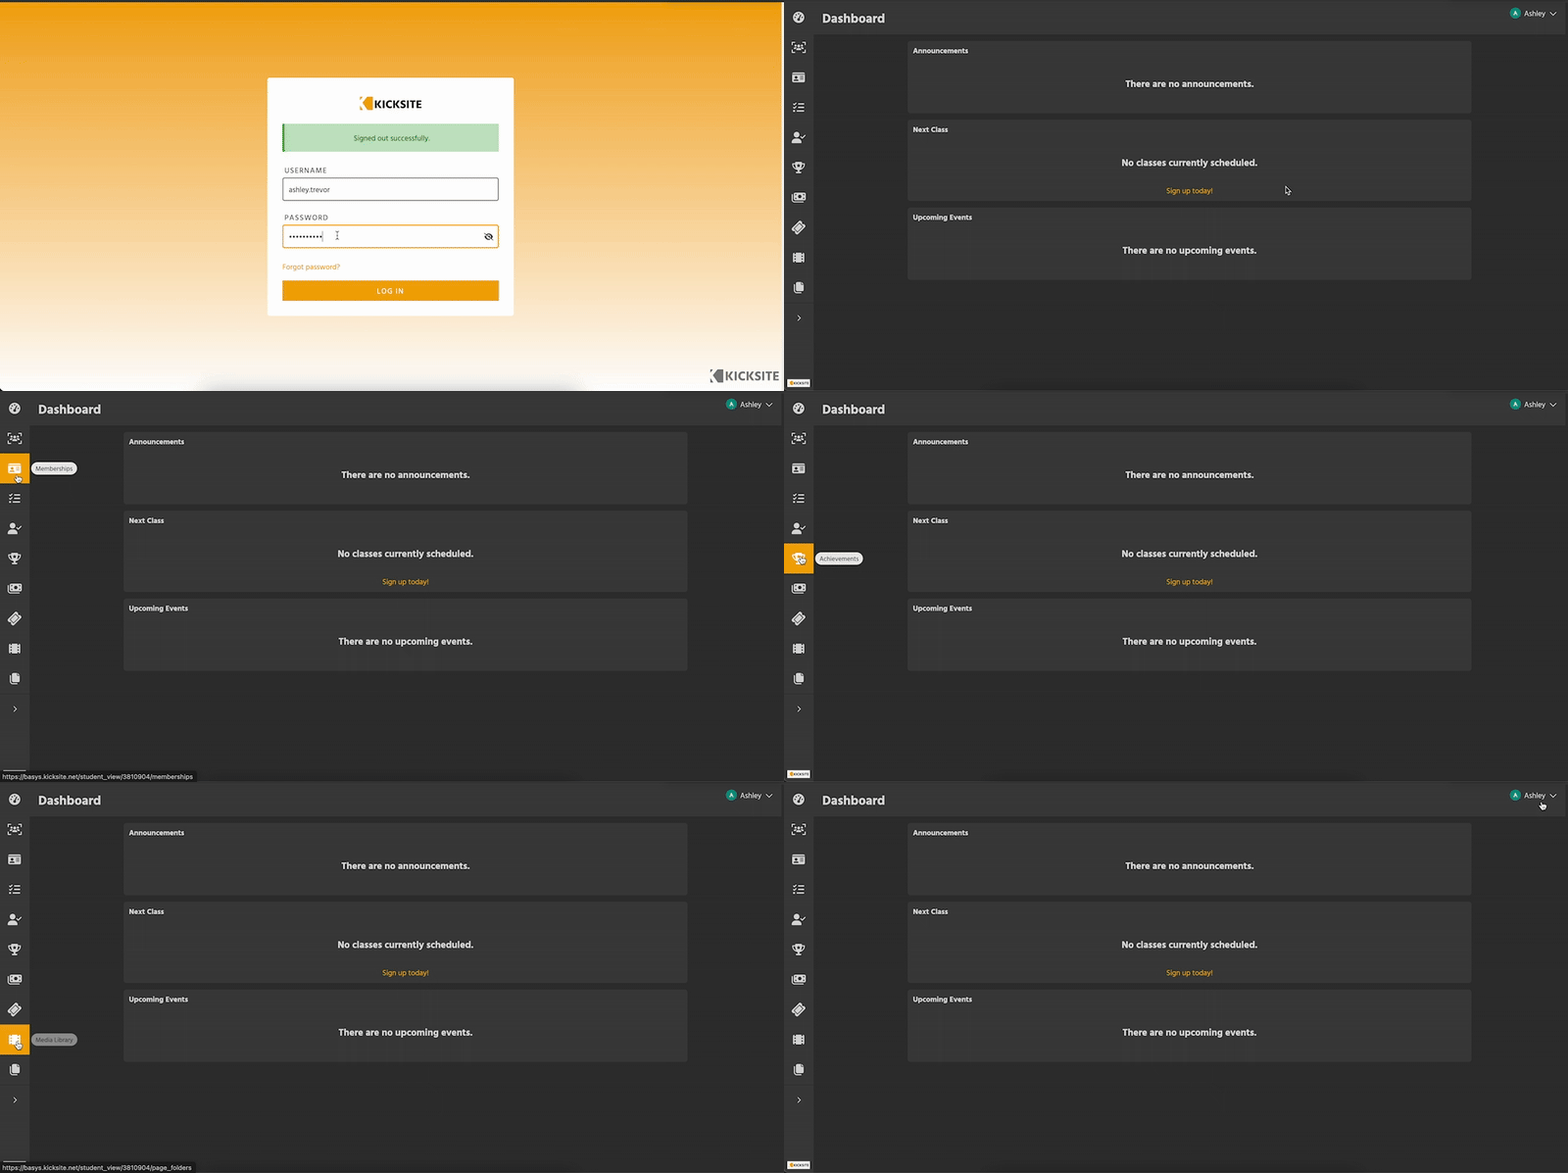
To sign in to your school’s Member Portal, go to kicksite.net and enter your username and password.
When your school sets up your account, you will receive an email from Kicksite that has your username and a temporary password.
- Make sure you set the password to something you’ll remember, and write it down or save it to your password manager.
- If you don’t know or remember your username, reach out to an admin at your school. Kicksite Support is unable to help you retrieve your username or password.
To learn how to install the Member Portal on your phone, tablet, or computer, click here.
Parts of the Member Portal
Dashboard
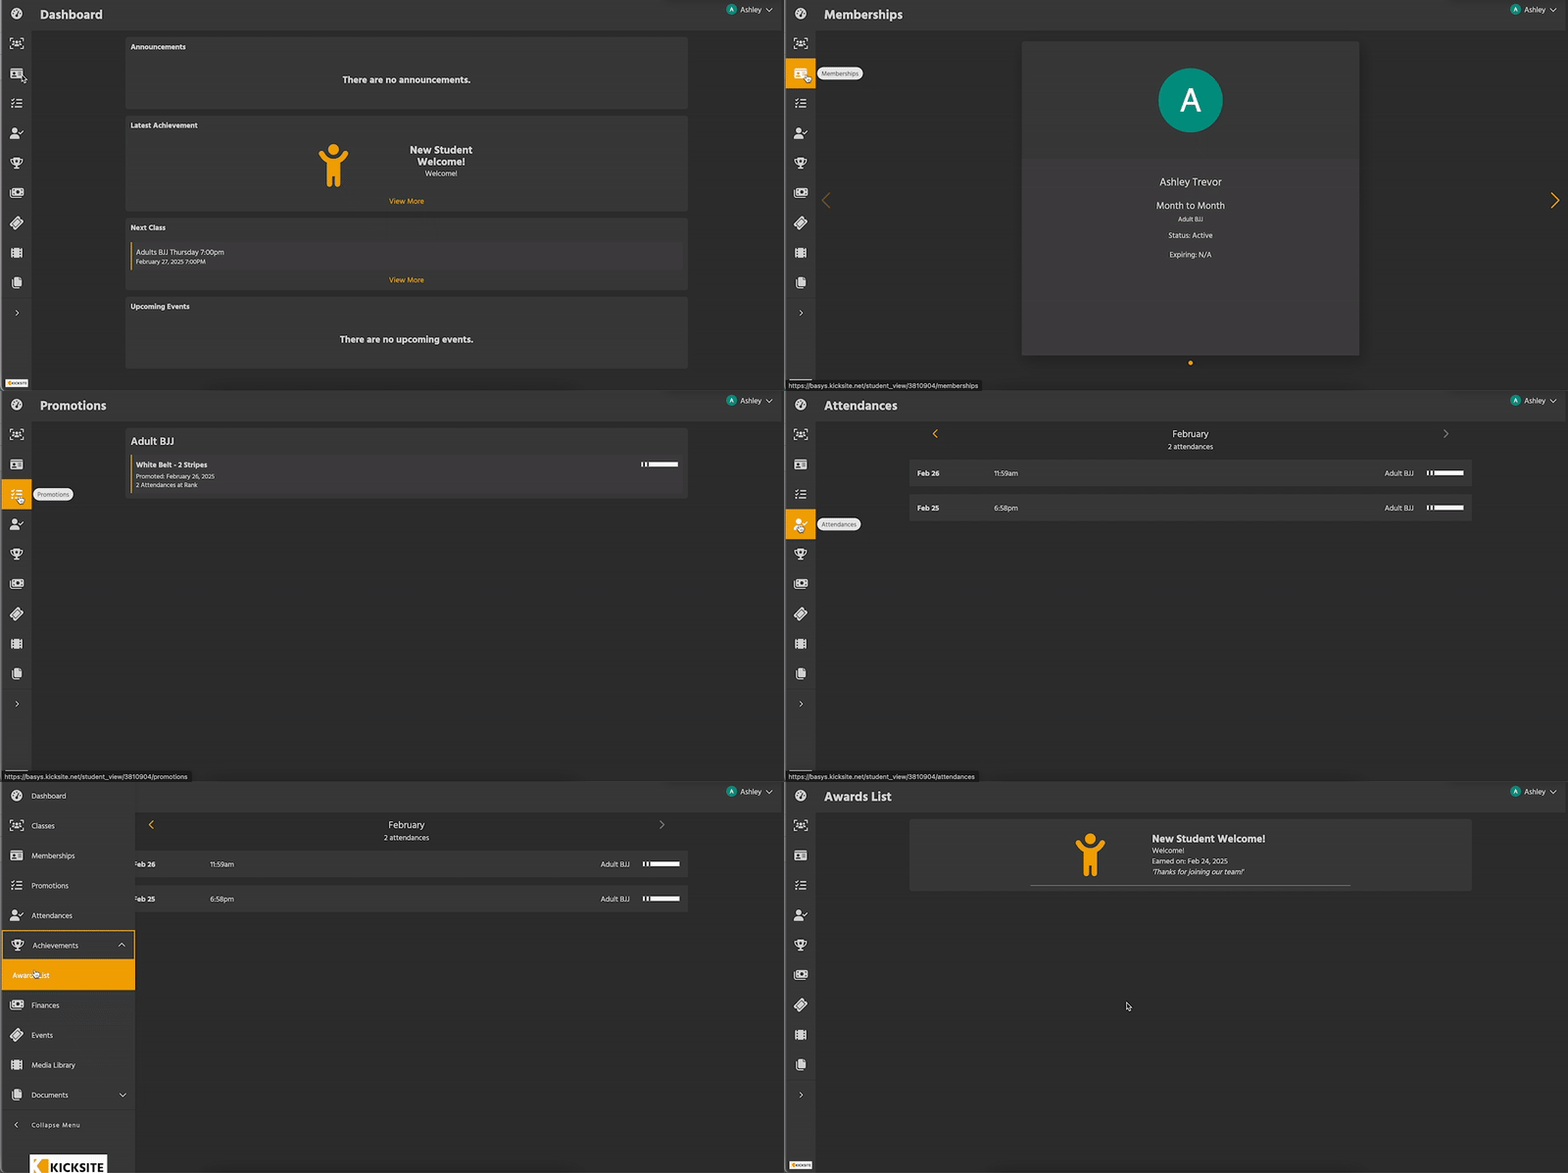
When you first log in, you’ll arrive on the Dashboard. This has announcements (if there are any), the next class you’ve signed up for, and any upcoming events you have been invited to.
If you aren’t signed up for any classes, click Sign up today to view available options.
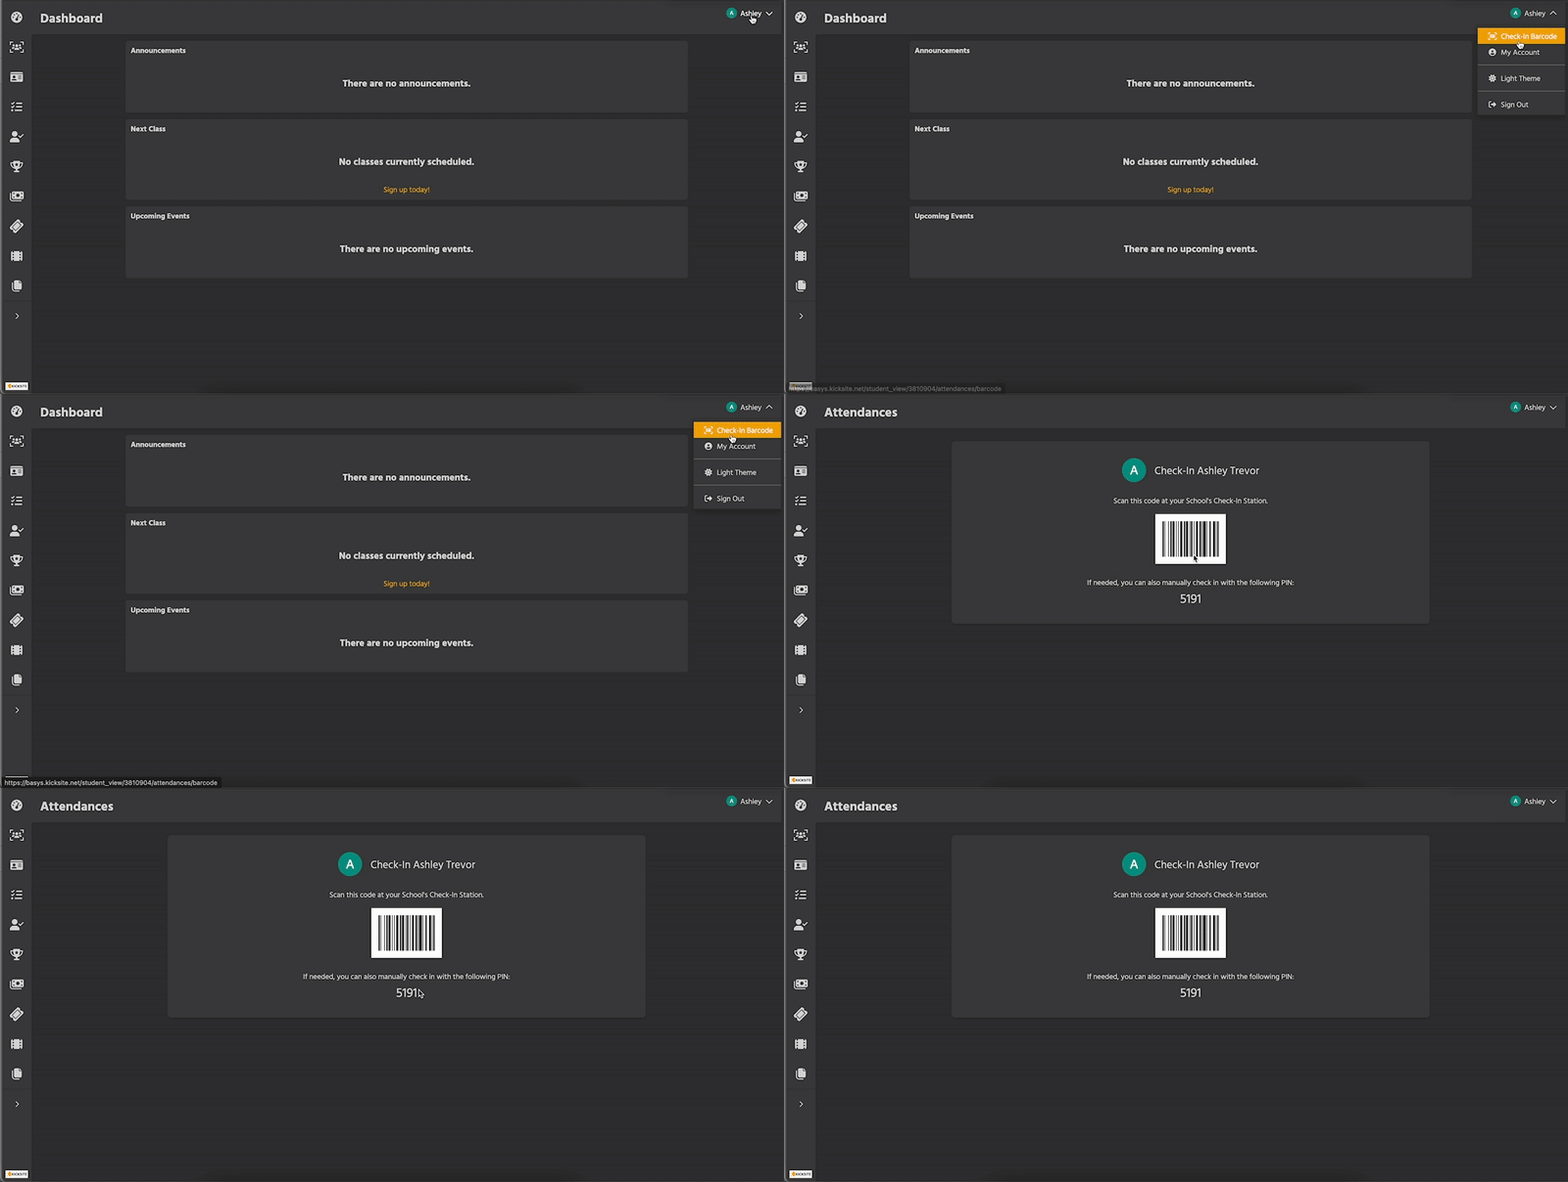
Dropdown menu
Click your name and profile picture in the upper right to open the dropdown menu.
PIN – Your PIN for check in. Click it to see your attendance history. If your school uses barcode or QR code check in, you can also access those here.
My Account – Click to update your profile picture, contact information, and login details. To learn more about profile customization, click here.
Theme – Toggle between light and dark theme.
Sign Out
If you are the primary person in your family (usually the parent or guardian), you can access other family members’ profiles in the dropdown. If you aren’t attending classes, you won’t have your own profile, and can only view others.
Main menu
On mobile, click the hamburger menu (three stacked lines) in the upper left to open the main menu. On desktop, the main menu is the sidebar.
Classes
View the Classes you’re scheduled for, and sign up for more.
If there are classes available, you can click Add New at the bottom of the Classes page, or Sign up today on the Dashboard.
How to sign up for a Class
- Click Add New at the bottom of the Classes page
- If you are in multiple programs, select one
- Click Choose a Class and select a class from the dropdown.
- To learn more about a class, select it. You won’t be added to it until you click Enroll.
- Choose a time slot by clicking it. The Enroll button will appear.
- Use the arrows by the date to go forward a week.
- Click Enroll.
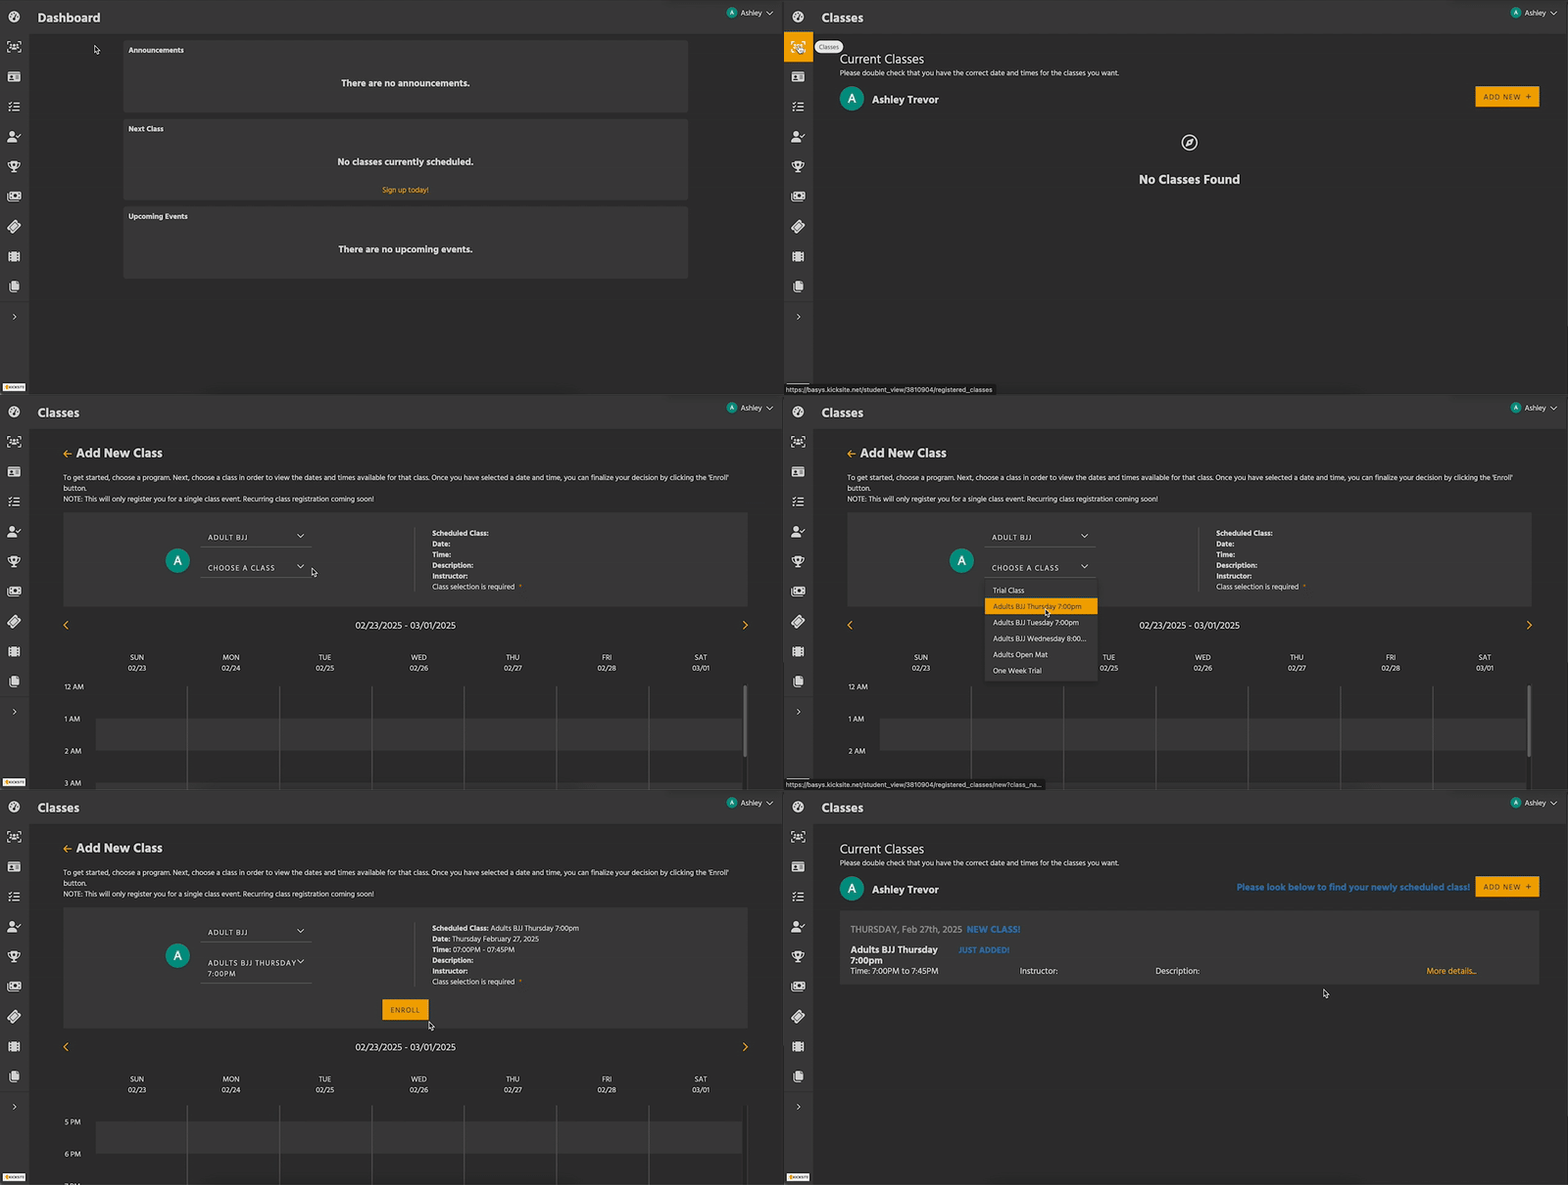
To cancel a class registration, click More Details, then Unregister, then Confirm.
Memberships
View the details of each active Membership you have. If you have more than one active membership, click the side arrows to scroll between them.
Promotions
View your promotion history for each Program you’re in.
Attendances
View your attendance history for each month.
Achievements
If you’ve received any awards, you can view them on the Awards List.
Finances
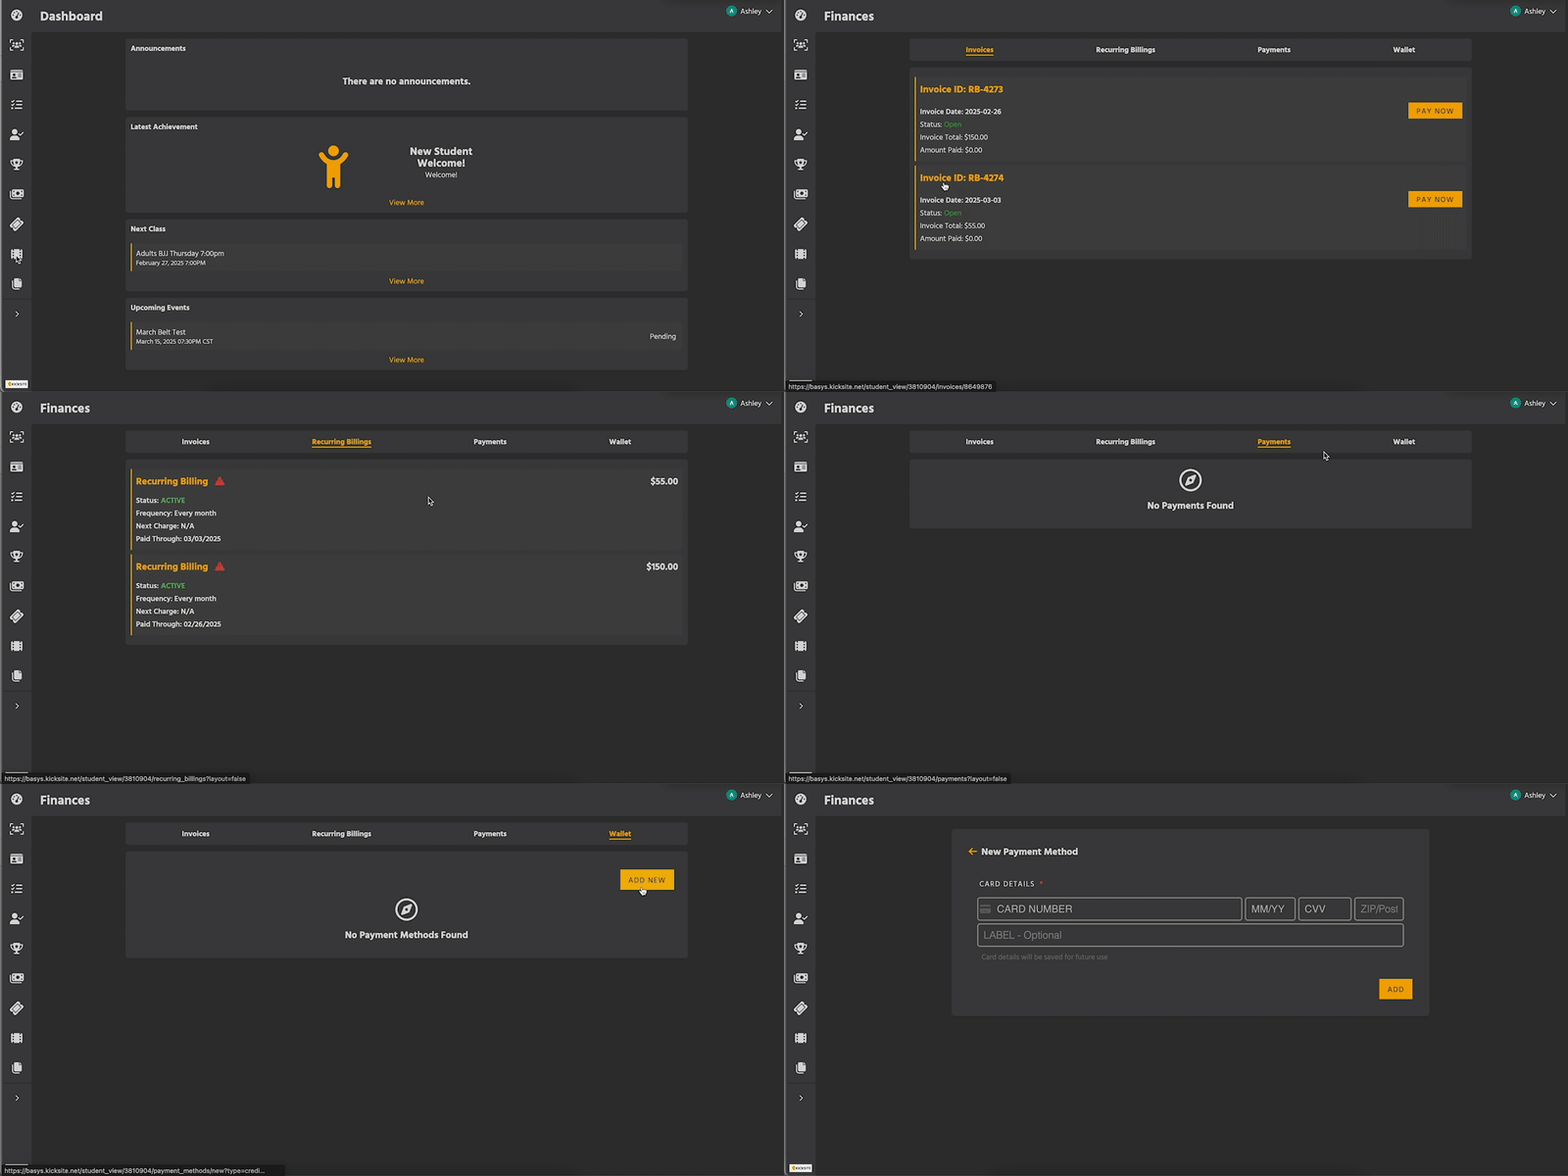
There are four subsections of Finances – Invoices, Recurring Billings, Payments, and Wallet.
Invoices – Click on an Invoice ID to view its details page. You can see more information about that invoice, like line items and payment history, on the details page.
Past Due and Open invoices can be paid with the Pay Now button, either on the list or details page.
Recurring Billings – Click the yellow title to view a recurring billing’s details. The details page shows the billing’s frequency, history, and all invoices related to it. You can also pay those invoices from this page.
If Autopay is on, a card or bank account will be attached to a recurring billing. A payment method can be added or swapped on the details page.
Payments – Click Receipt to view a payment’s details.
Wallet – The payment methods (cards and/or bank accounts) you have on file. You can edit the label / nickname of each payment method.
To add a new payment method, click the Add New button.
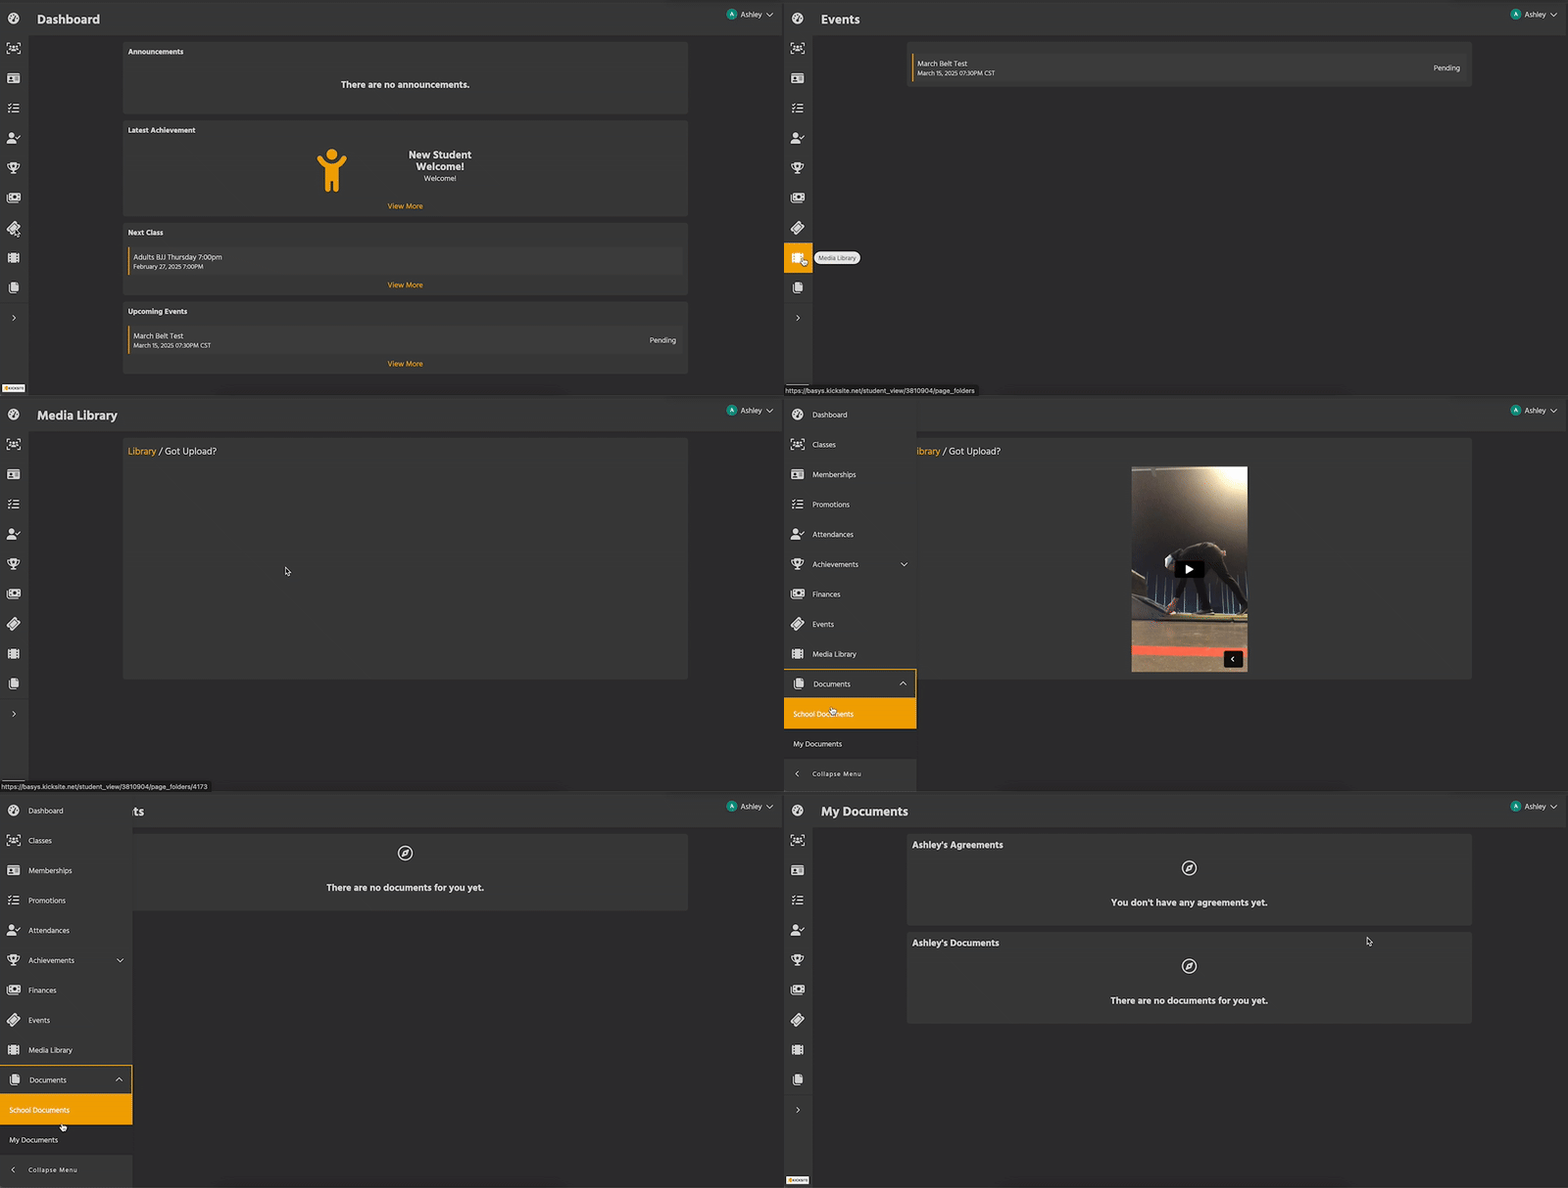
Events
View the events you’ve been invited to, as well as the status (Pending, Registered, or Declined).
Media Library
Content uploaded by your school or gym, such as training videos or handouts, can be found in Media Library. Media Library may be restricted to certain belts or levels – ask your instructor for more details.
Documents
View contracts or other documents specific to you. Click on an agreement to view it. Click on any other document item to download it.
If you have further questions about the Member Portal, ask your school administrator.
